There is something about a handmade lavender sachet that feels quietly luxurious. Tuck one into a dresser drawer and every time you pull out a t-shirt, there it is, a small treasure you made yourself. Stack a few in a linen closet and your bath towels smell like a French farmhouse. Tie one with ribbon and you have a gift that costs almost nothing but looks like it came from a boutique.
The best part? These take less than an hour to sew, use almost no fabric, and are an ideal project for anyone just learning to sew a straight line. They are also one of the most satisfying ways to use up fabric scraps that are too pretty to throw away but too small for anything else.
Here’s everything you need to know to make a set of four.
What You’ll Need
Fabric: Four pieces cut to 5″ x 10″ each. Linen is the classic choice \it breathes well and lets the lavender scent pass through beautifully. Quilting cotton, ticking stripe, and lightweight home décor fabric all work well too. This is genuinely a great scrap project; you only need a small piece of each, so mix and match fabrics for a collected, mismatched set.
Lavender: About ½ cup of dried lavender buds makes four sachets. Look for culinary-grade or craft-grade dried lavender at health food stores, craft stores, or online. Avoid any that has already turned grey because the scent fades with the color. There are several online sources, just google “dried lavender buds for sachet” and you should find some useful resources. I personally choice is my local Trader Joes, they often have bouquets of dried Lavender. You can also find them at Michaels or if you have time check out Etsy.
Ribbon or twine: Optional, but a length of narrow ribbon tied around the finished sachet makes it feel like a real gift.
Tools: Needle and thread for hand-sewing, iron, pins, scissors, and a small funnel or folded scrap of paper for filling.
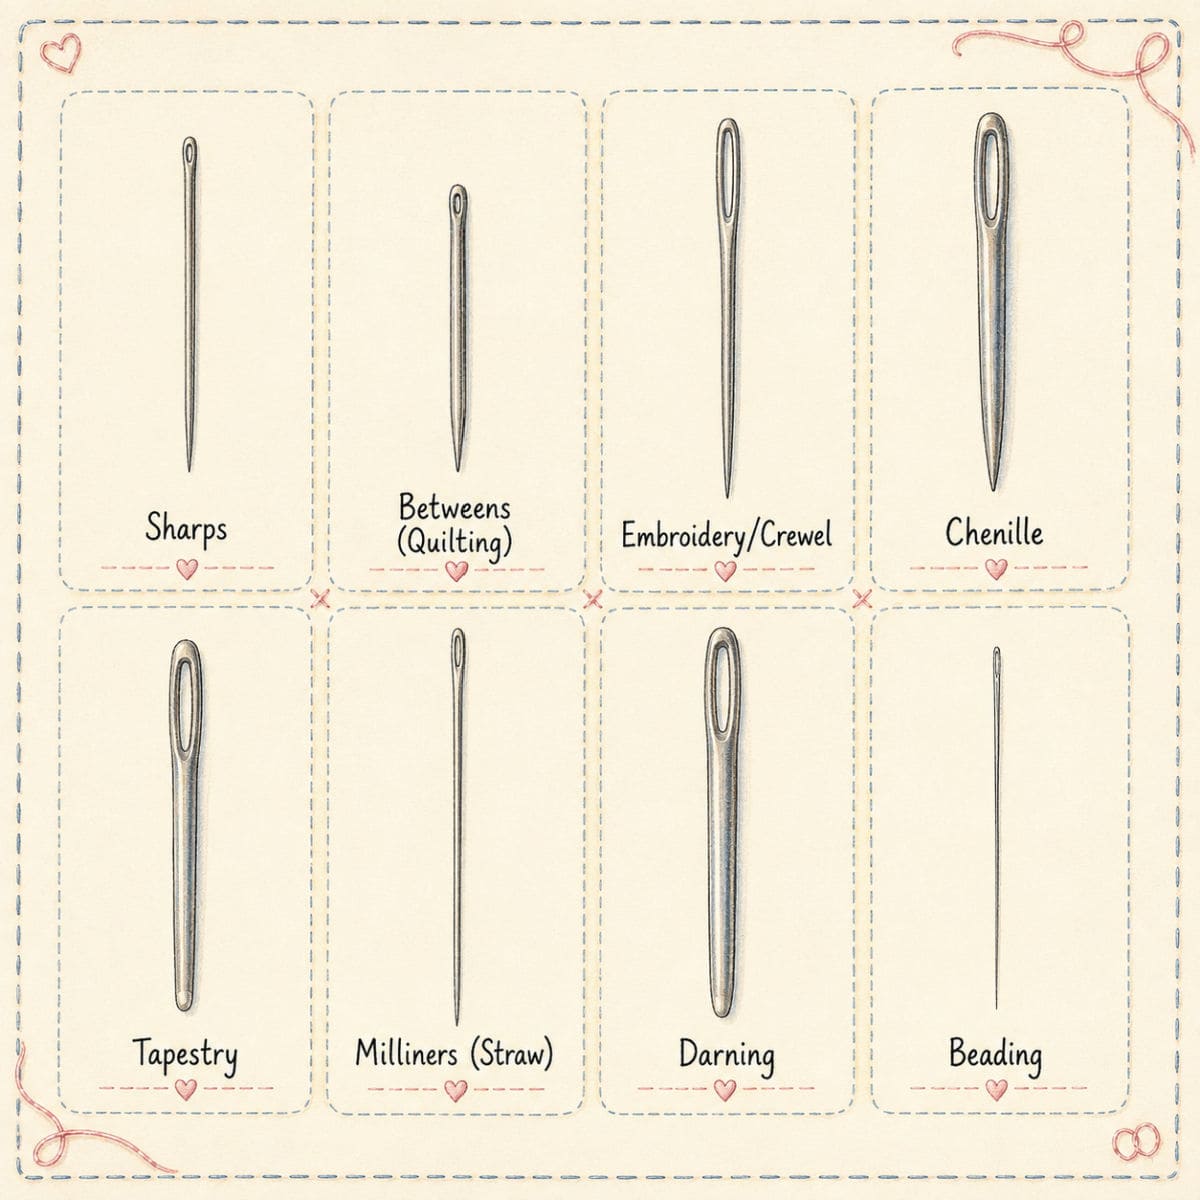
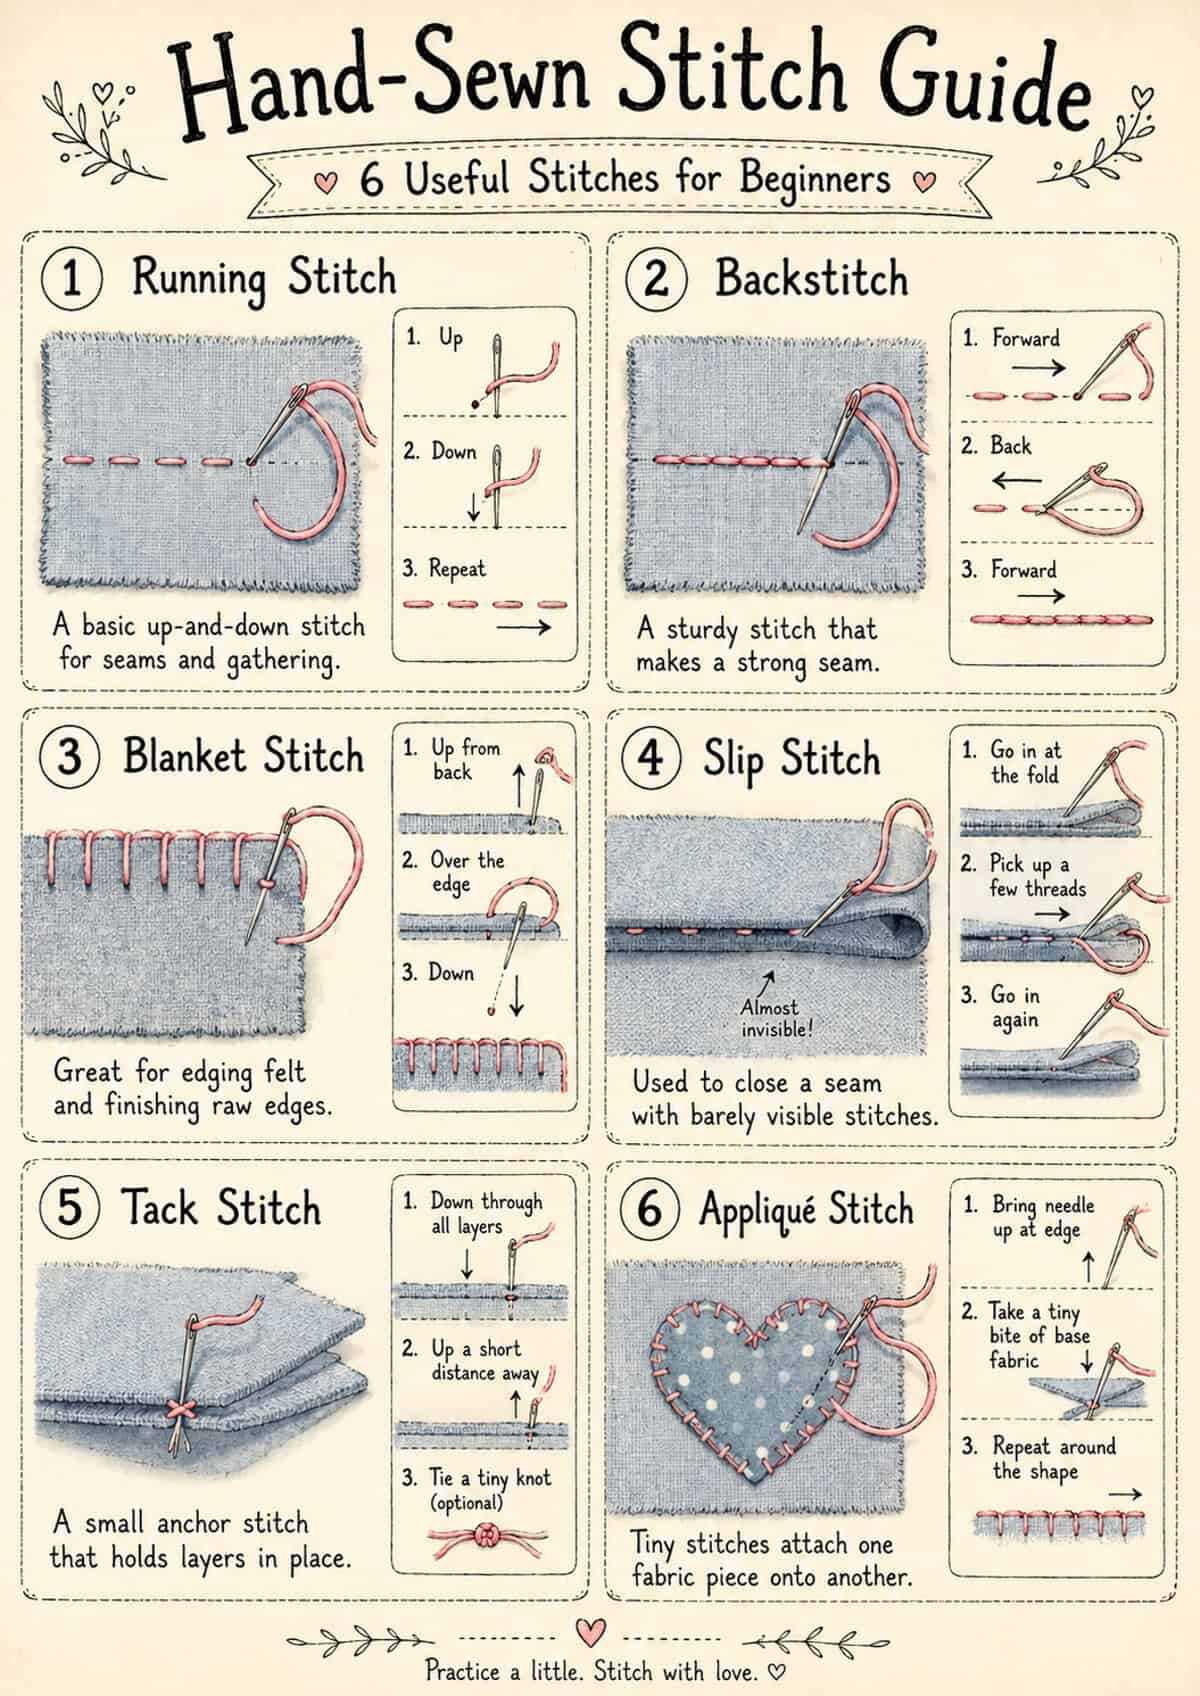
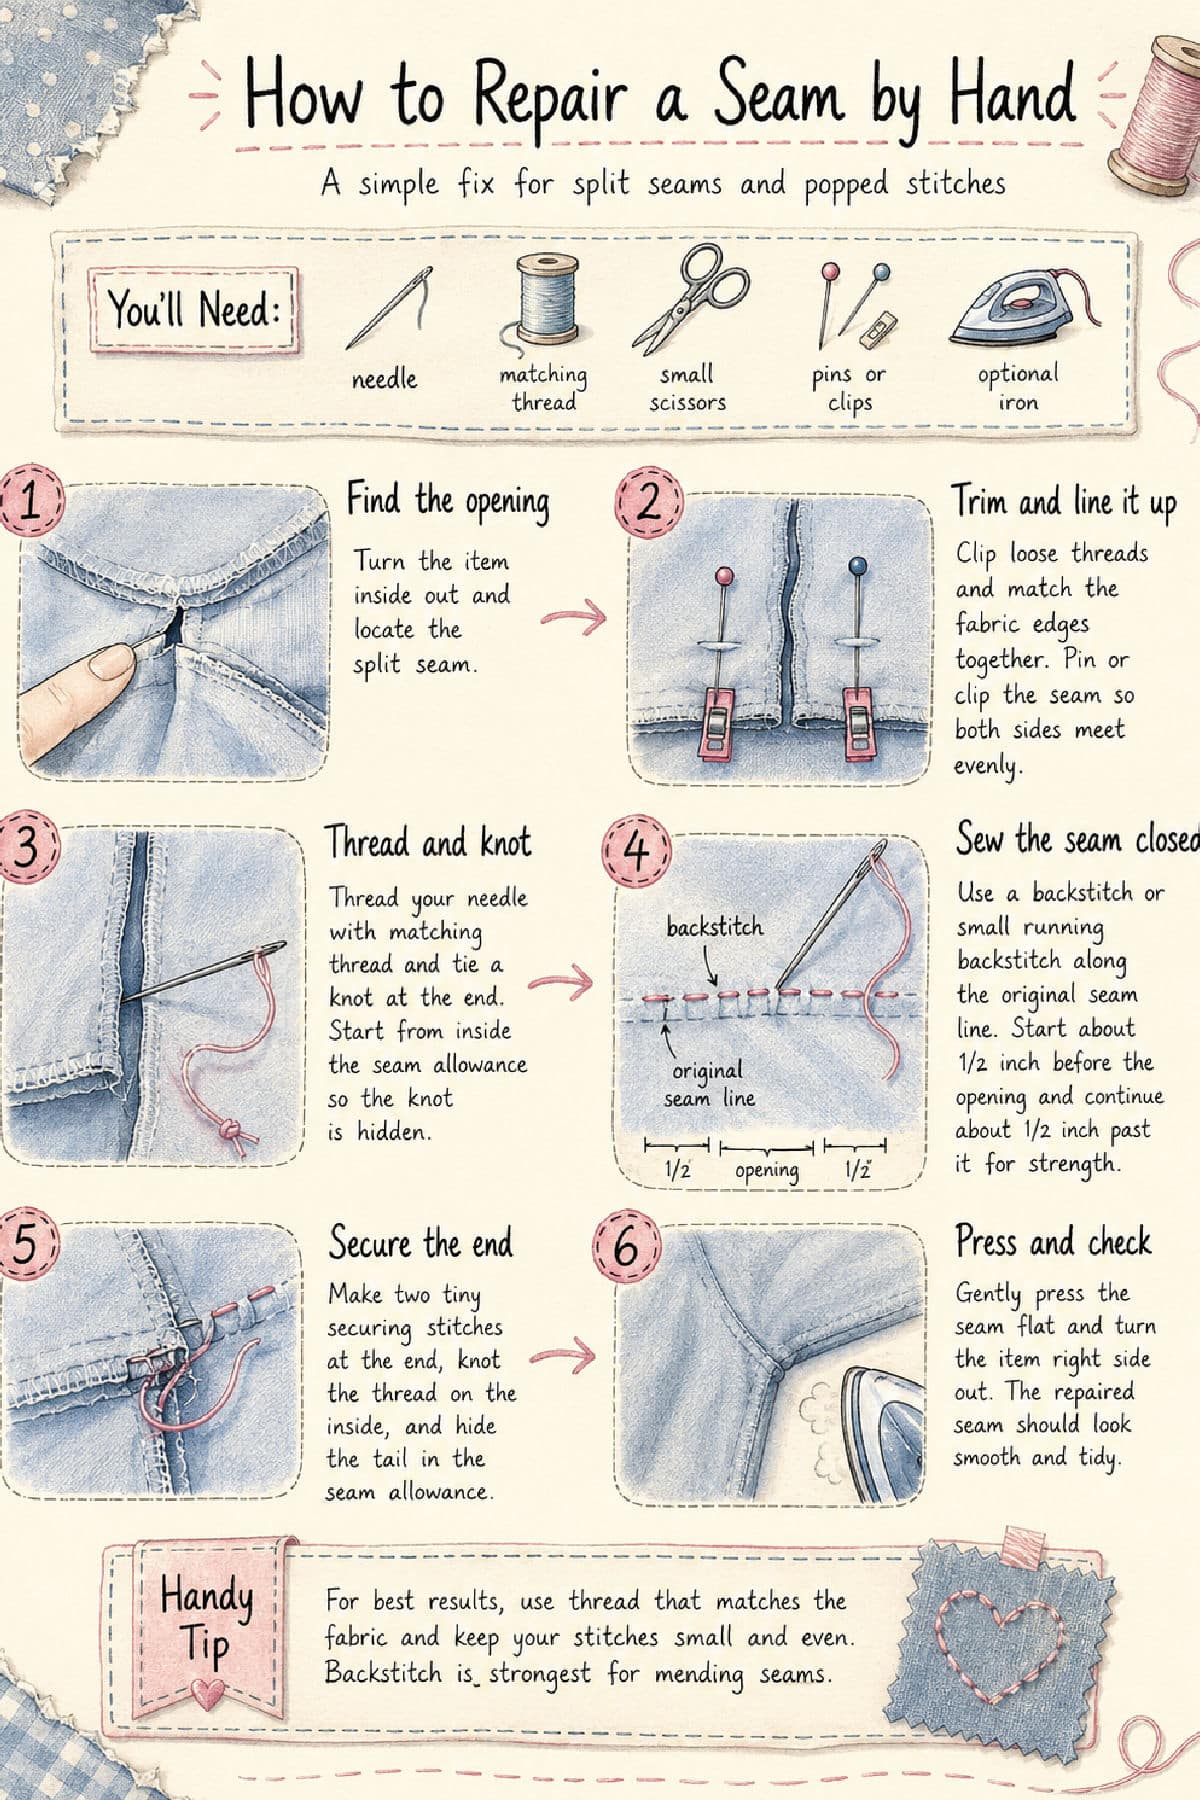
Wondering what needle or stitch to use for small project crafts? Check out my hand sewing stitch guide and how to choose sewing needles.
Step-by-Step Instructions
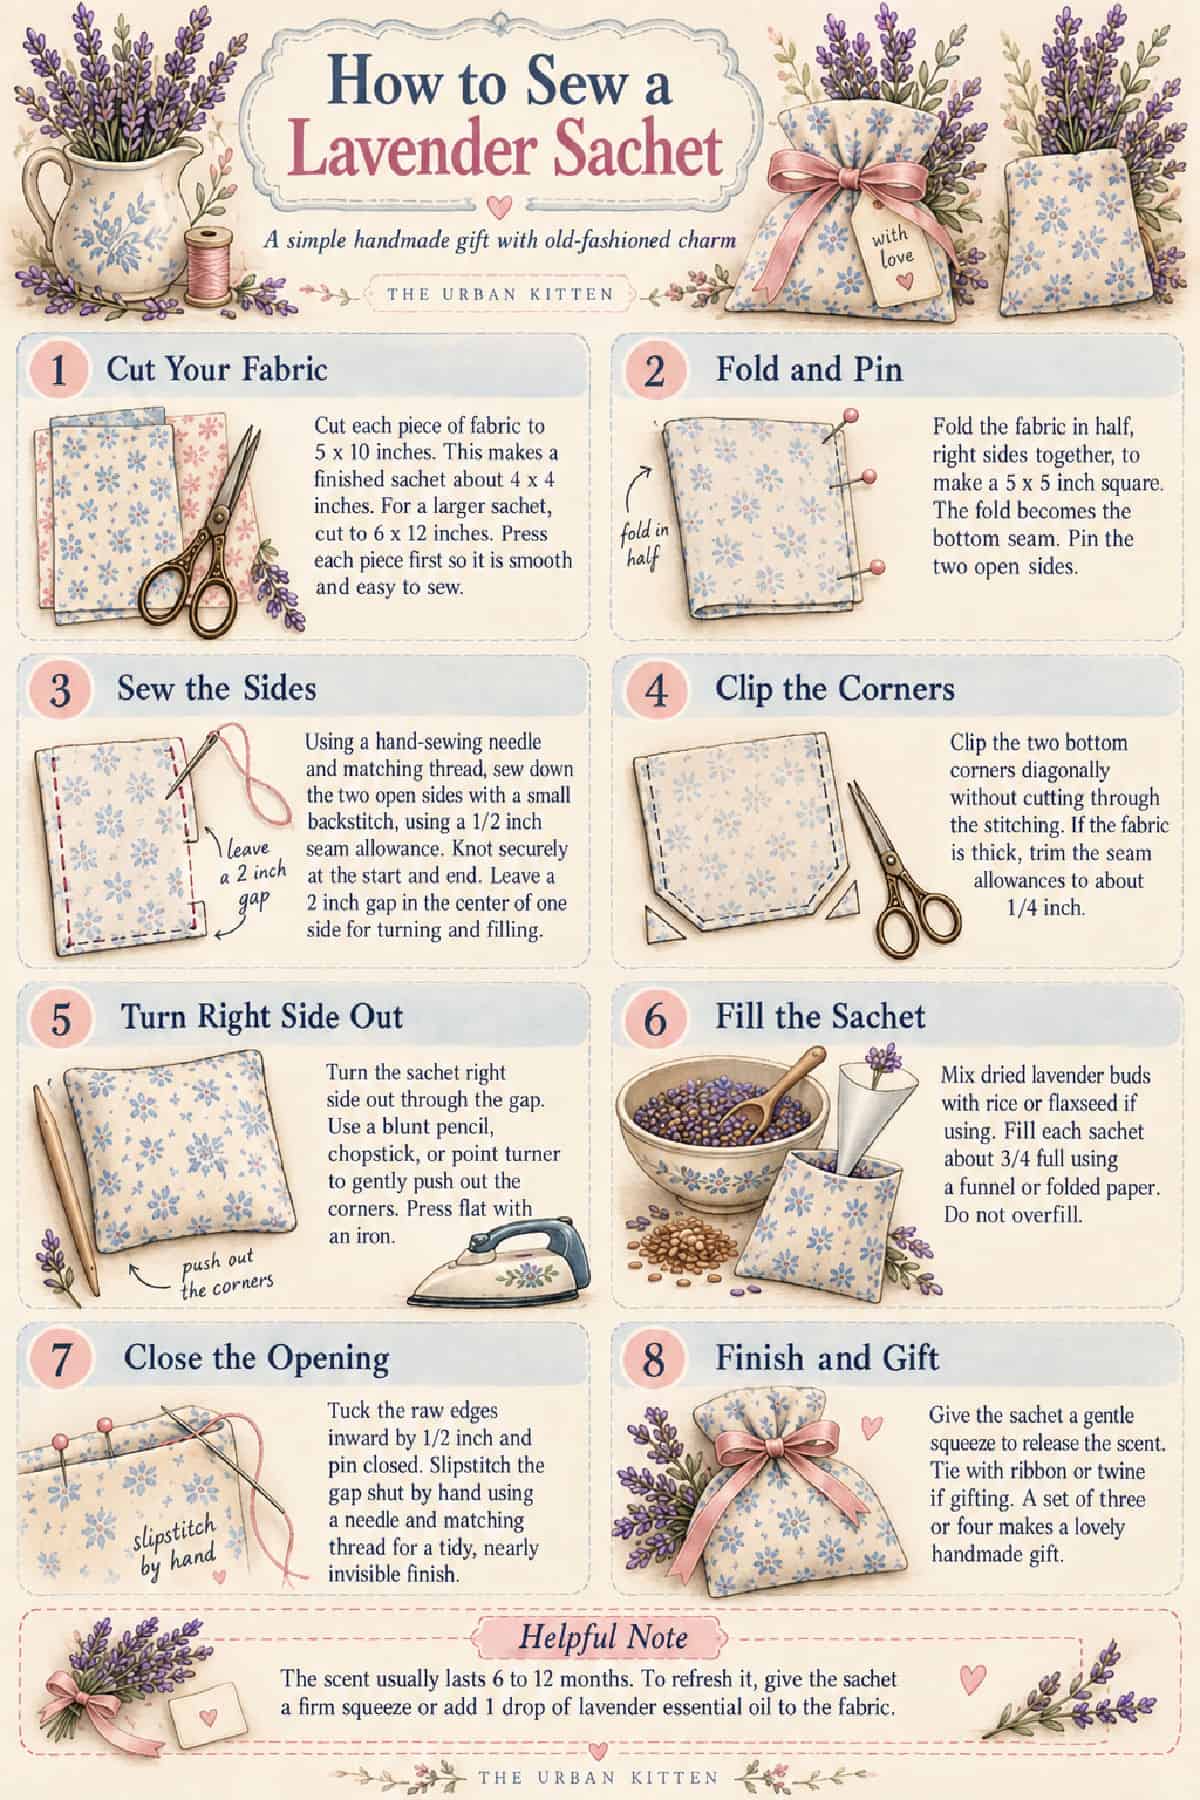
Step 1: Cut Your Fabric
Cut each piece of fabric to 5″ x 10″. This gives you a finished sachet of roughly 4″ x 4″ once sewn and turned — just the right size to tuck anywhere without taking up too much space. If you want slightly larger sachets, cut to 6″ x 12″.
Press each piece with an iron before you start. A smooth, flat piece of fabric is much easier to sew accurately, and the pressing takes about thirty seconds.
Step 2: Fold and Pin
Fold each fabric piece in half, right sides together, so you have a 5″ x 5″ square with the pretty side on the inside. The fold becomes your bottom seam, so you only need to sew down the two open sides. Pin both open sides in place.
Step 3: Sew the Sides
Using a straight stitch, sew down one open side and then the other, using a ½” seam allowance. Backstitch at the start and end of each seam. Here is the important part: leave a 2″ gap in the center of one side. This is your turning and filling hole, and it’s easy to forget in the flow of sewing. Mark it with a pin before you start so you remember to stop.
Step 4: Clip the Corners
Clip the two bottom corners diagonally, cutting close to the stitching but not through it. This removes the extra fabric bulk and helps your corners look neat and square once you turn the sachet right side out. If your fabric is on the thicker side, trim the seam allowances down to about ¼” as well.
Step 5: Turn Right Side Out
Reach through the gap in the side seam and turn the sachet right side out. Use a blunt pencil, chopstick, or a point turner to gently push the corners out fully — this is one of those small steps that makes a big difference in the finished look. Press the sachet flat with an iron.
Step 6: Fill the Sachet
In a small bowl, mix your dried lavender buds with the rice or flaxseed if you’re using it. Using a small funnel or a folded piece of paper as a makeshift funnel, fill each sachet about ¾ full. You want them plump and fragrant but still with enough room to stitch the gap closed neatly. Don’t overfill — a sachet that’s packed too tight is hard to close and can pop a seam.
Step 7: Close the Opening
Tuck the raw edges of the gap inward by ½” and pin closed. You have two options here: slipstitch the gap shut by hand using a needle and matching thread (the tidiest finish, nearly invisible), or topstitch across the entire top edge of the sachet on your machine for a more uniform look. Either works beautifully.
Step 8: Finish and Gift
Give each finished sachet a gentle squeeze to release the lavender scent — the smell is immediate and wonderful. If you’re gifting them, tie a length of ribbon or twine in a bow around the center. A set of three or four stacked in a small basket or wrapped in tissue paper makes a genuinely lovely handmade gift.
The scent typically lasts six to twelve months with normal use. To refresh it, give the sachet a firm squeeze or add a single drop of lavender essential oil directly to the fabric.
A Few Tips and Variations
Try a no-sew version. If sewing isn’t your thing yet, cut your fabric into a circle, place a mound of lavender in the center, gather the fabric up around it, and tie tightly with ribbon. Rustic, quick, and charming.
Mix your scents. Adding a teaspoon of dried rosemary or dried mint to the lavender filling creates a more complex, herby scent that works especially well in a kitchen drawer.
Use a panel print. If you have fabric with a small motif — a botanical print, a tiny bird, an illustrated sprig, try centering that motif on the front of the sachet before you cut. It turns a simple project into something that looks very intentional.
Make a big batch. Once you’ve made one, you’ll want to make ten. Set up an assembly line, cut all your fabric at once, and sew them in batches. A dozen sachets made in an afternoon gives you gifts for most of the year. I also love making these for inexpensive gifts for co-workers.
These are the kinds of projects that remind you why you started making things in the first place; small, useful, beautiful, and done.