You don’t need a sewing machine to shorten a pair of pants. With a needle, matching thread, and a little patience, you can create a neat hand-sewn hem that looks tidy from the outside and holds up well with regular wear.
For as long as I can remember every time I needed to hem pants I reached for the needle and thread, not the sewing machine!
Hand hemming is also one of those useful sewing skills that is worth knowing even if you don’t consider yourself a sewer. Pants are often just a little too long, an old hem can come loose, or you may find a pair at a thrift store that fits perfectly everywhere except the length.
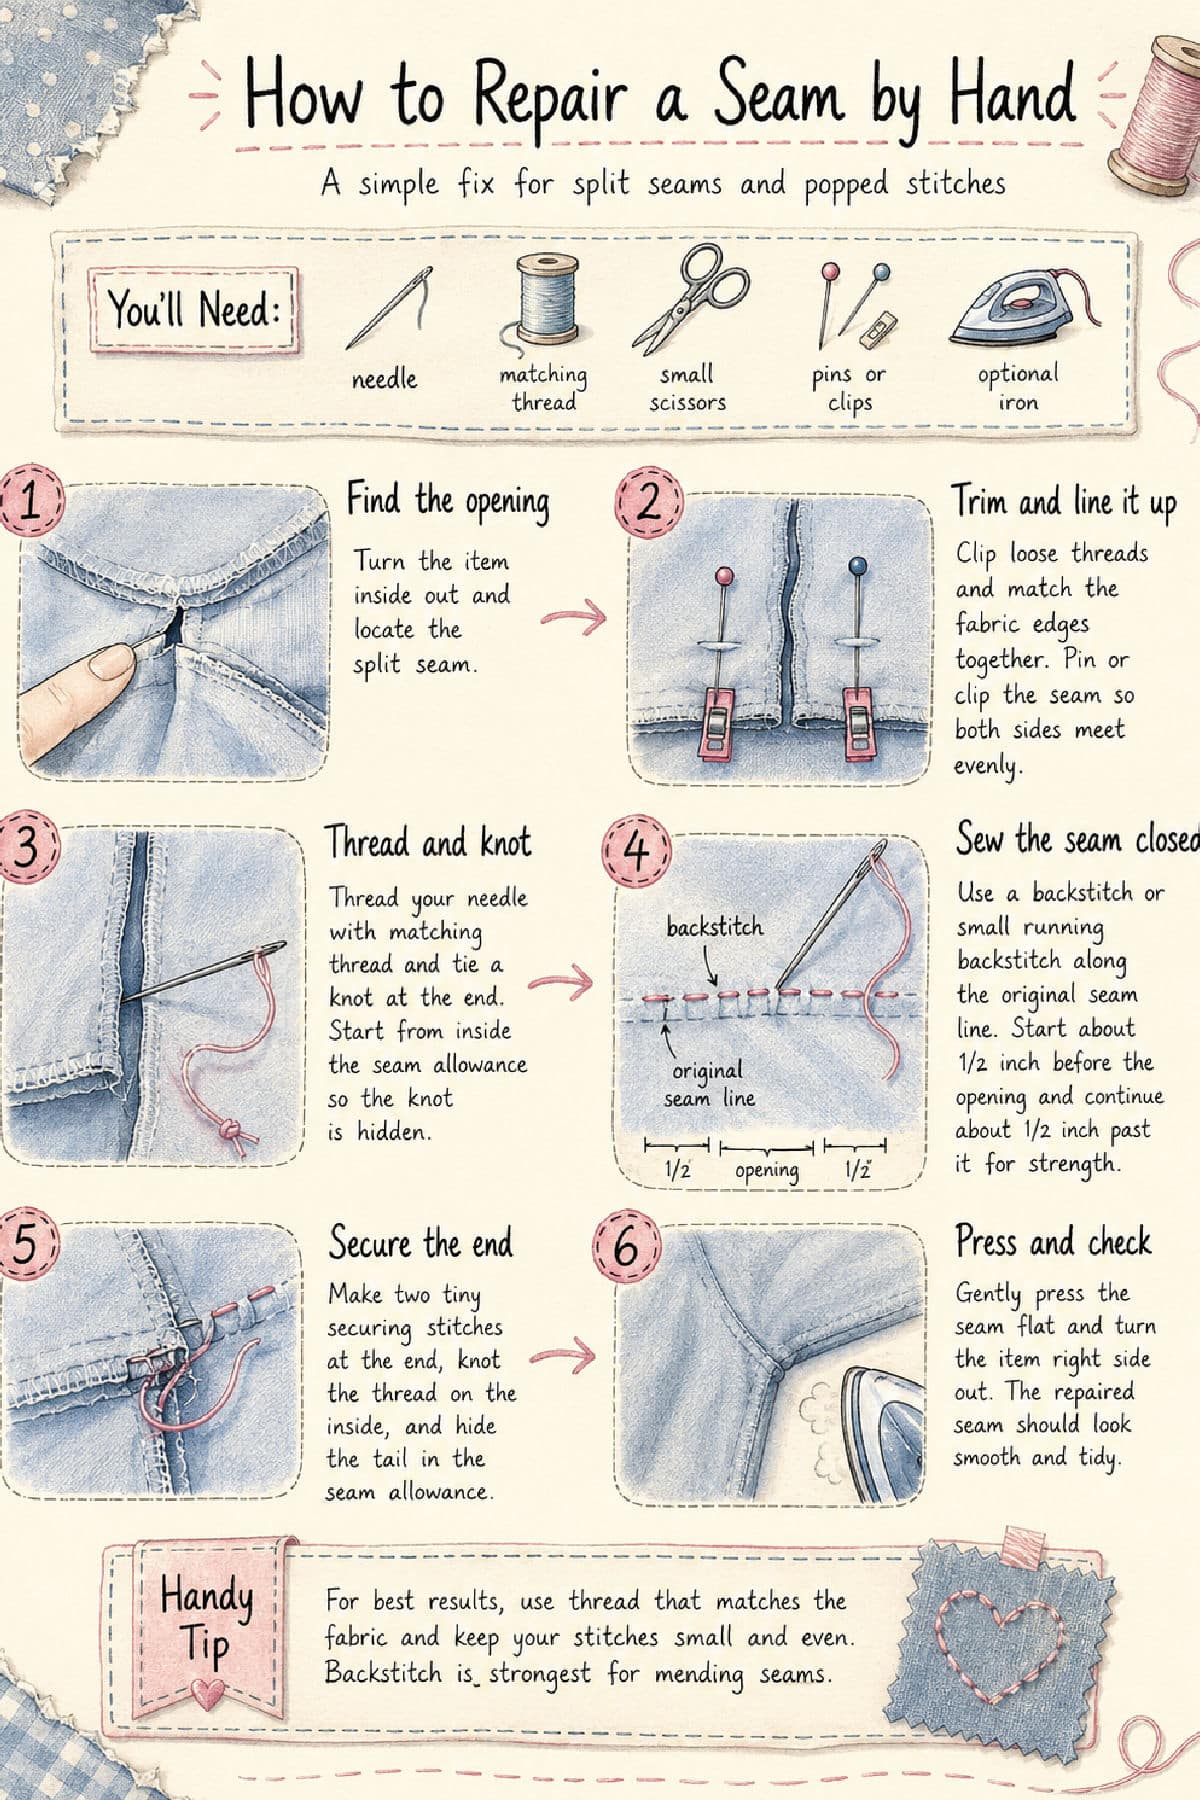
Once you know how to make a simple blind hem stitch by hand, these small alterations become much easier to handle yourself.
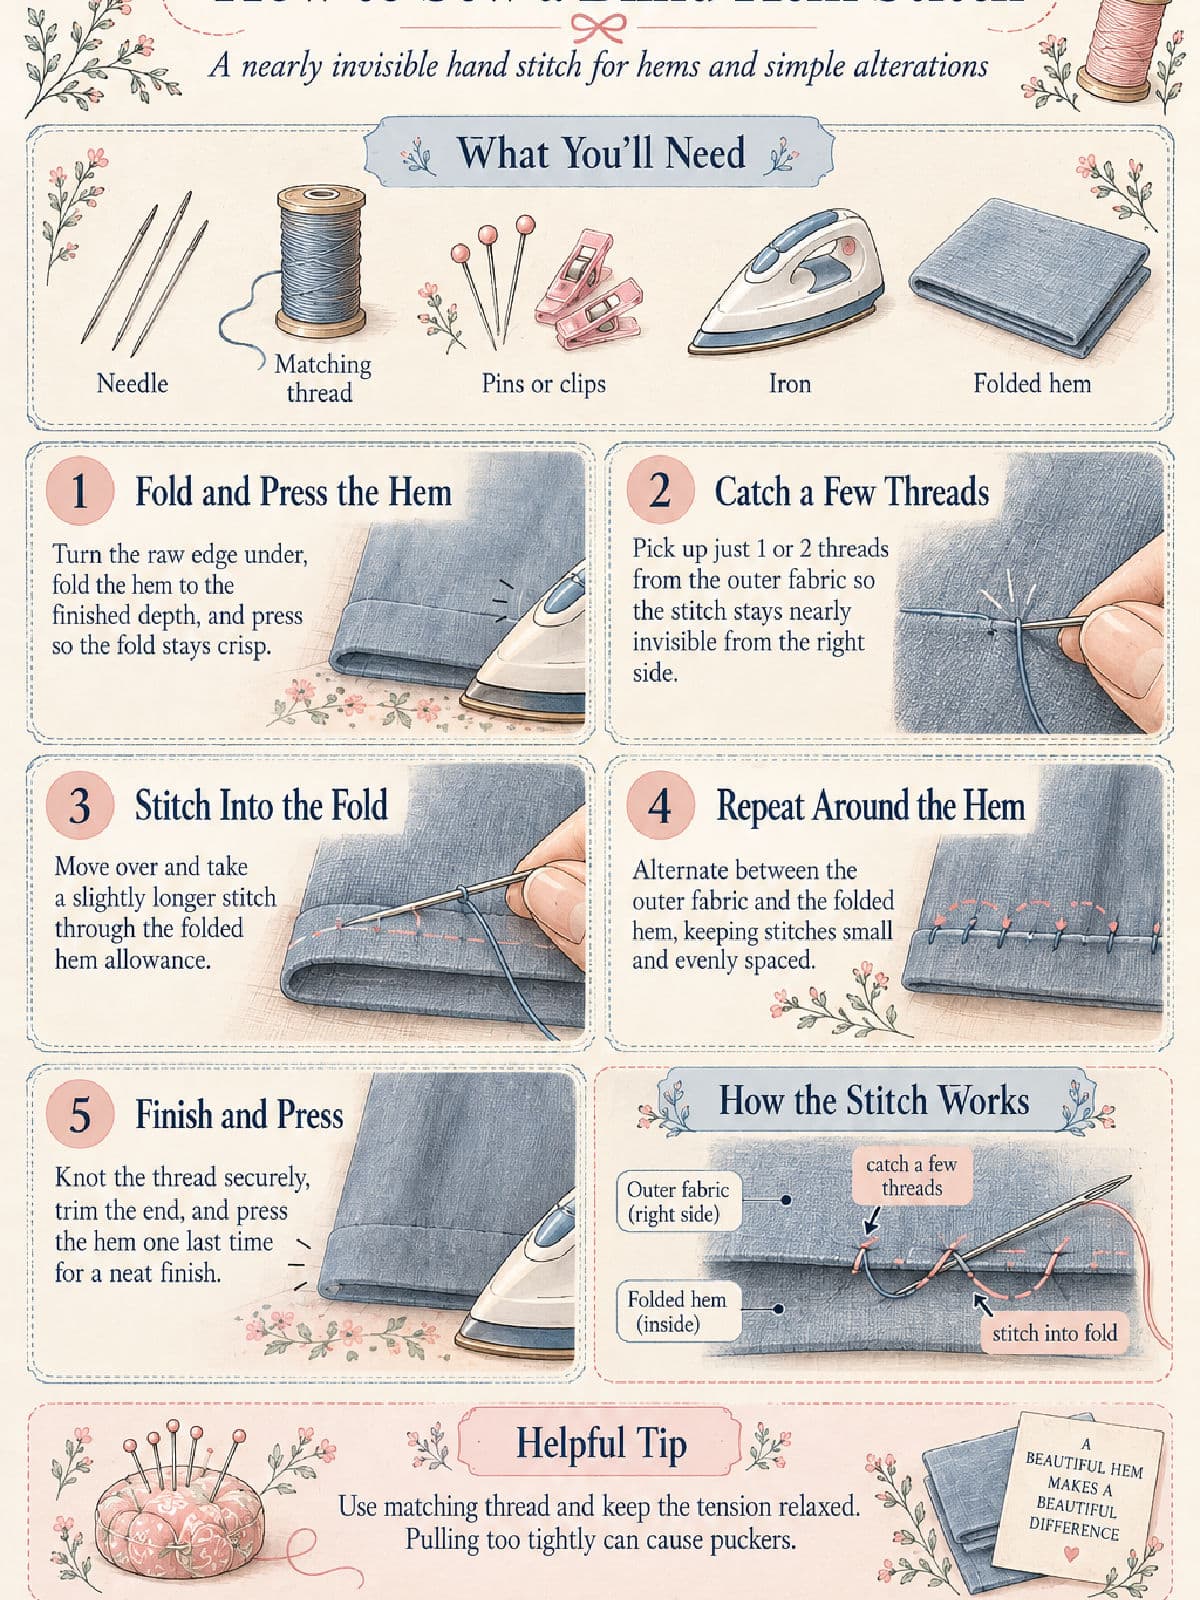
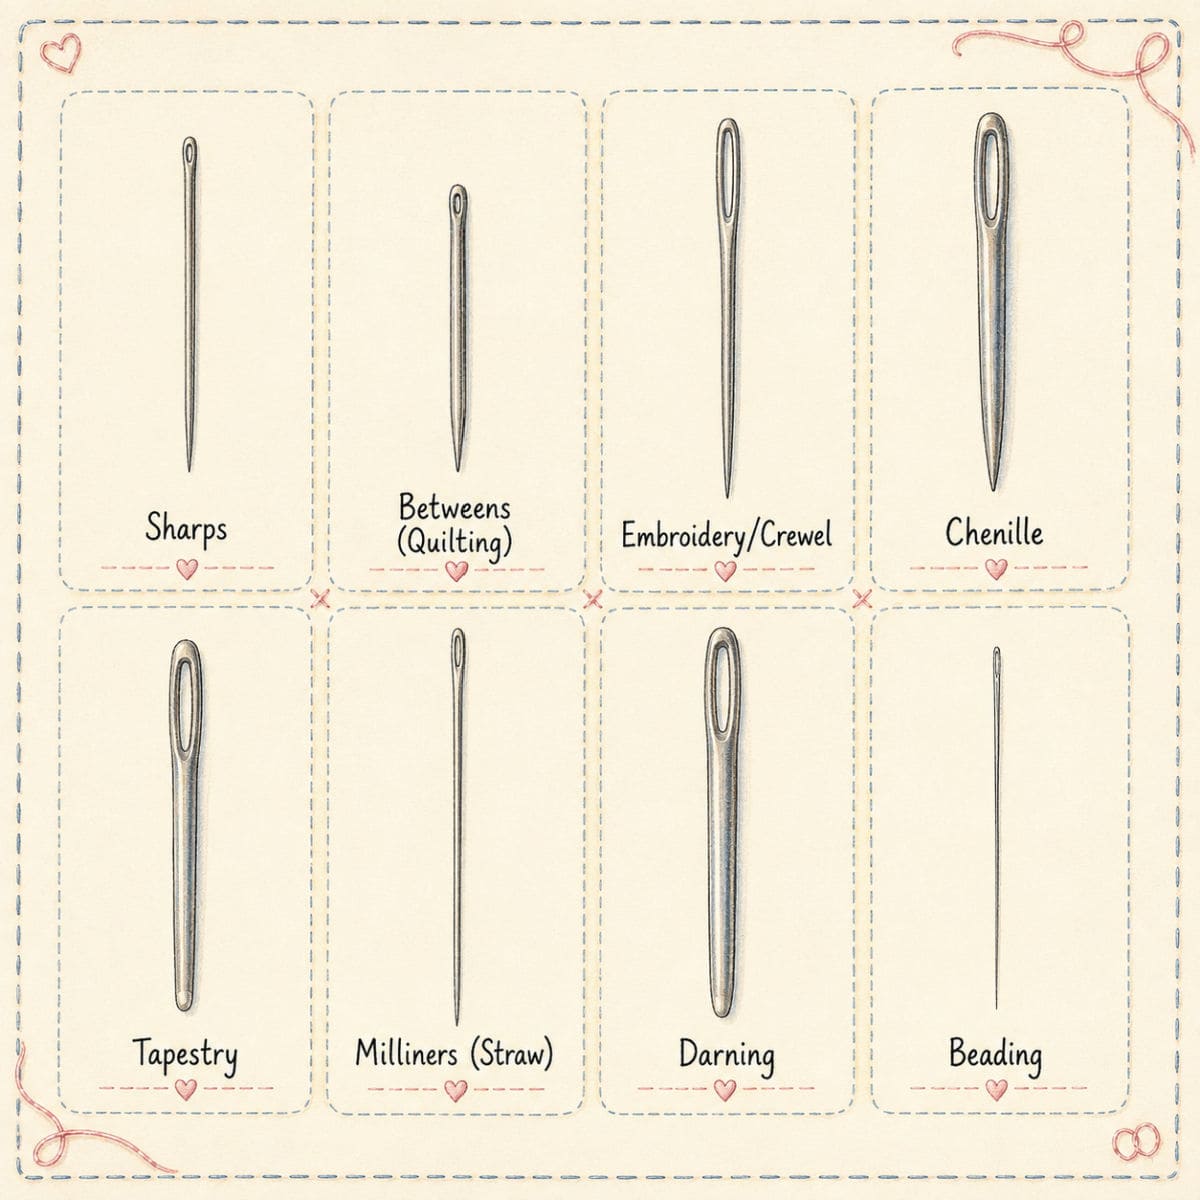
Interested in learning more stitches, check out my simple hand sewing stitch guide and help choosing the right sewing needle for the job.
Why Learn to Hem Pants by Hand?
Hand hemming is especially useful if you:
- Don’t own a sewing machine.
- Only need to shorten pants occasionally.
- Want an almost invisible hem on dress pants.
- Need to repair a hem that has come loose.
- Are learning basic hand sewing skills.
- Prefer doing small alterations yourself instead of taking them to a tailor.
It is also a nice beginner sewing project because the stitching does not have to be perfectly uniform to work well. Most of the stitches are hidden inside the hem.
A Little Sewing History
Long before home sewing machines became common, clothing repairs and alterations were simply part of everyday household life.
Hems were shortened, seams were repaired, buttons were replaced, and worn clothing was mended by hand rather than discarded. Even after sewing machines became common in homes, hand stitching remained the preferred method for many finishing jobs. Dress hems, linings, cuffs, and small alterations were often sewn by hand because the stitches could be made nearly invisible from the outside.
Learning to hem pants by hand is a small connection to that older, practical style of sewing and makes what you already own fit better and last a little longer.
What You’ll Need
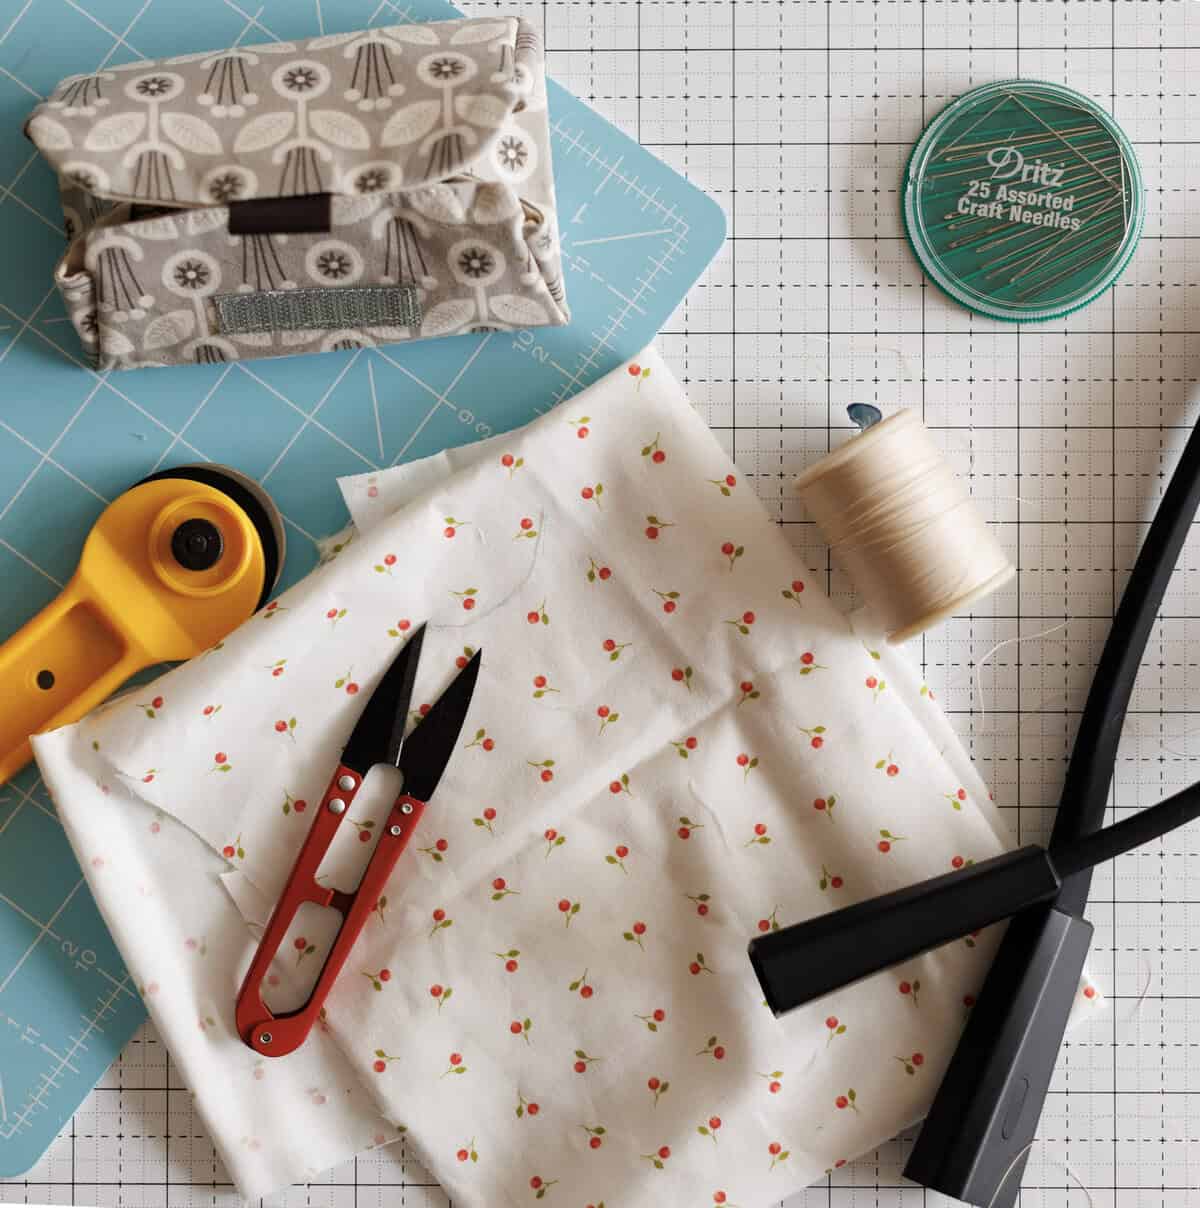
You only need a few basic sewing supplies.
- Hand sewing needle
- Matching thread
- Straight pins or sewing clips
- Measuring tape or ruler
- Fabric scissors
- Iron and ironing board
- Fabric chalk or washable marking pencil, optional
Choose a thread color that is as close as possible to the color of your pants.
For lightweight or dress pants, regular all-purpose thread works well.
For heavier fabrics such as denim, you may prefer a slightly stronger thread.
Before You Begin
Before cutting anything, wash and dry the pants the same way you normally plan to care for them.
Some fabrics shrink slightly after washing, and you don’t want to shorten your pants only to discover that they are even shorter after the first wash.
It is also helpful to wear the shoes you normally plan to wear with the pants when deciding on the finished length. Different shoes can change where the hem falls.
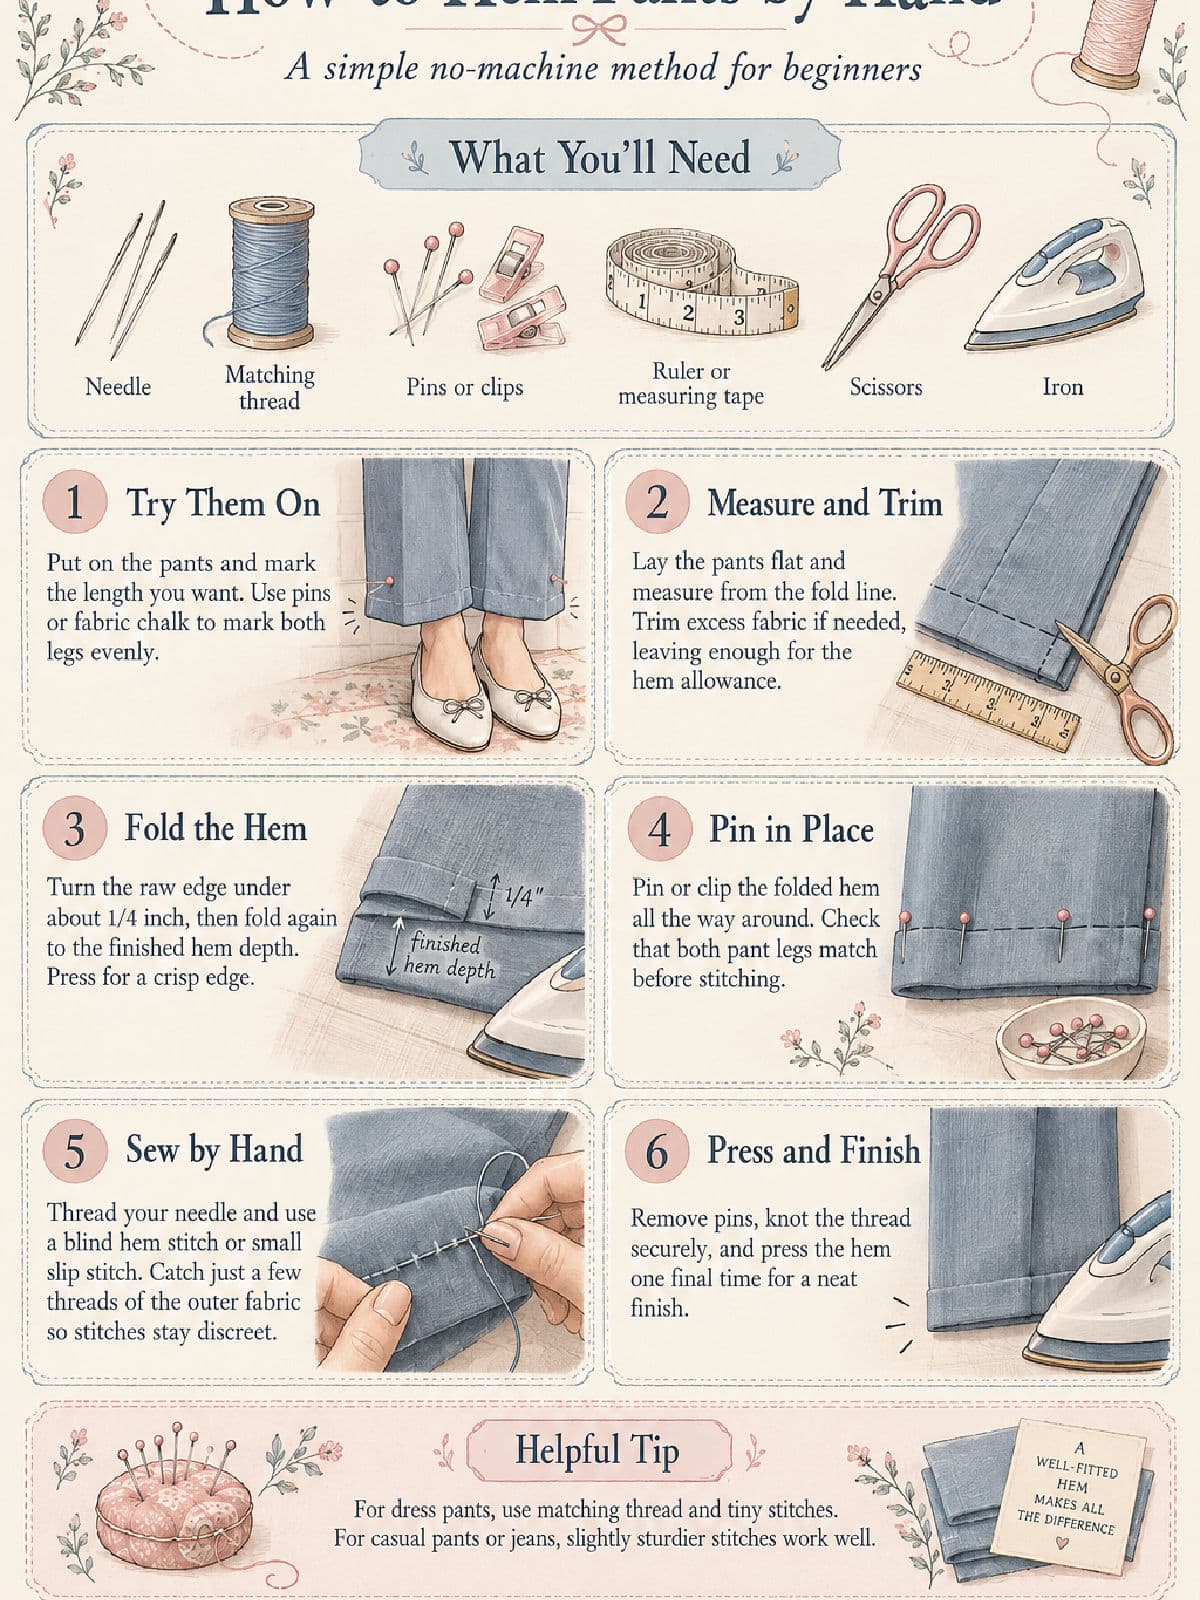
Step 1: Try On the Pants and Mark the Length
- Put on the pants and stand naturally.
- Fold the bottom of each pant leg inward until you reach the length you want.
- Pin the fold in place or mark it with fabric chalk.
- Check the length from the front, side, and back.
- If possible, stand in front of a full-length mirror.
- You want the two legs to look even before you begin sewing.
A Helpful Tip
If you are hemming the pants yourself, it can be difficult to bend over and pin the hem while wearing them.
You can make one or two marks while wearing the pants, then take them off and finish measuring the hem while the pants are lying flat.
Step 2: Measure Both Pant Legs
- Lay the pants flat on a table or ironing board.
- Measure from the bottom edge of the pants to your marked fold line.
- Check both legs.
- If one leg is slightly longer than the other, use the measurement rather than relying only on the original hem.
- Manufactured clothing is not always perfectly even.
- Once you have determined the finished length, mark that line around each pant leg.
Step 3: Decide How Much Fabric to Leave for the Hem
Before trimming excess fabric, decide how deep you want the finished hem to be. For many pants, a finished hem of about 1 to 1½ inches works well. Dress pants sometimes have a slightly deeper hem. Casual pants may have a narrower one.
You will also need a small amount of extra fabric so you can turn the raw edge under.
A simple beginner method is:
- Turn the raw edge under about ¼ inch.
- Fold the fabric up again to create the finished hem.
For example, if you want a 1-inch finished hem, leave about 1¼ inches of fabric below your finished hem
Step 4: Trim the Excess Fabric
If the pants are much too long, you may need to cut away some of the extra fabric.
Measure carefully before cutting.
Mark the cutting line around both pant legs and double-check the measurements.
Then trim away the excess fabric with sharp fabric scissors.
Don’t Rush This Step
Once the fabric is cut, you cannot put it back.
If you are uncertain about the length, leave a little extra fabric at first.
You can always trim more later.
Step 5: Fold the Raw Edge Under
With the pants turned inside out, fold the raw edge of the fabric toward the inside about ¼ inch.
Press the fold with an iron.
This small fold hides the raw edge and helps prevent fraying.
Next, fold the fabric again until the upper edge meets your marked finished hem line.
Press the hem again.
Taking the time to press the folds makes hand hemming much easier because the fabric will naturally stay where you want it.
Step 6: Pin the Hem in Place
Place pins around the pant leg to hold the folded hem.
Space the pins every couple of inches.
Make sure the folded hem stays the same depth all the way around.
Check both pant legs again before you begin sewing.
This is a good time to compare them side by side.
Step 7: Thread Your Needle
Cut a manageable length of thread.
About 18 to 24 inches is usually plenty.
Using an extremely long piece of thread may seem faster, but it tends to twist and knot while you sew.
Thread the needle and tie a small knot at the end.
You can sew with a single strand of thread for lightweight fabrics or use doubled thread if you prefer a little more strength.
Step 8: Start the Hem
Begin sewing near one of the side seams.
Starting at a seam makes the beginning and ending knots less noticeable.
Hide the thread knot inside the folded hem.
Bring the needle out through the upper folded edge.
Step 9: Use a Blind Hem Stitch
The goal of a blind hem stitch is to attach the folded hem while showing as little thread as possible on the outside of the pants.
Take a very small stitch through the outer fabric of the pant leg.
Try to catch only one or two threads of fabric.
Then move the needle about ½ inch along the folded hem and take a small stitch through the folded edge.
Repeat this process around the pant leg:
- Catch a tiny amount of the pant fabric.
- Move the needle along the hem.
- Stitch through the folded hem.
- Repeat.
The stitches should feel secure but not tight.
If you pull the thread too tightly, the outside fabric may pucker.
What Should the Stitches Look Like?
- From the inside, you will see a series of small stitches holding the folded hem in place.
- From the outside, you should see either tiny dots of thread or almost nothing at all.
- Don’t worry if your first few stitches aren’t perfectly even.
- A hand-sewn hem does not have to look machine-perfect.
- The goal is simply to make it neat, secure, and discreet.
Step 10: Finish the Stitching
Continue stitching until you reach your starting point.
Take two or three small stitches in the folded hem to secure the thread.
Make a small knot and hide the thread tail inside the fold.
Trim away the excess thread.
Repeat the same process on the second pant leg.
Step 11: Press the Finished Hem
Remove the pins and turn the pants right side out.
Check the hem.
If everything looks even, gently press the hem one final time.
Use the appropriate heat setting for your fabric.
Press rather than dragging the iron back and forth.
A final pressing helps the new hem lie flat and gives the alteration a more finished appearance.
Which Hand Stitch Is Best for Hemming Pants?
A blind hem stitch is one of the best choices because very little thread shows on the outside.
A slip stitch can also work well, especially on lightweight fabric.
For casual pants where the stitching will not be noticeable, a small whip stitch can work too.
The exact stitch matters less than keeping your stitches small and avoiding pulling the thread too tightly.
How Deep Should a Pant Hem Be?
There is no single correct hem depth.
As a general guide:
- Lightweight pants: about ¾ to 1 inch
- Casual pants: about 1 inch
- Dress pants: about 1 to 1½ inches
- Heavier pants: about 1 to 1½ inches
If you are replacing an existing hem, using the original hem depth is often the easiest option.
Can You Hem Jeans by Hand?
Yes, although denim takes a little more effort.
Use a sturdy hand sewing needle and strong thread.
You may also want to use a thimble because pushing a needle through multiple layers of denim can be difficult.
For jeans, you do not necessarily need an invisible stitch. You can find thread specially made for jeans in a jean blue and also in that classic orange.
A sturdy hand stitch is often more practical.
Can You Hem Pants Without Cutting Them?
Yes. If the pants only need to be shortened a small amount, you can often fold the excess fabric inside the pant leg without cutting it away.
This can be useful if:
- You may want to lengthen the pants later.
- You are hemming children’s clothing.
- You are unsure about the final length.
Very deep folded hems can become bulky, however, so trimming may still be necessary if the pants are several inches too long.
How Do You Keep Both Pant Legs the Same Length?
Measure rather than relying only on sight.
After marking the first leg, measure from a consistent point on the pants and transfer that measurement to the other leg.
Before sewing, place the pant legs next to each other and compare the bottom edges.
It is much easier to correct an uneven hem before you start stitching.
Why Is My Hand-Sewn Hem Puckering?
The most common reason is that the thread has been pulled too tightly.
The stitches should hold the hem in place without drawing the fabric together.
Loosen the tension slightly as you sew.
Using stitches that are too large can also cause puckering.
Smaller stitches usually create a smoother hem.
Should I Press a Hem Before Sewing?
Yes. Pressing is one of the easiest ways to make your hem look more professional.
Press after making the first small fold and again after folding the hem to its finished depth.
The folds will stay in place better while you sew and the finished hem will look much neater.
Can I Repair a Fallen Hem the Same Way?
Absolutely. If the original hem has simply come loose, you may not need to measure or cut anything.
Remove any loose thread, press the original fold back into place, pin it, and sew around the hem using a blind hem stitch.
It is one of the easiest clothing repairs to do by hand.
Helpful Tips for a Neater Hand-Sewn Hem
- Use thread that closely matches the fabric.
- Take very small stitches in the outer fabric.
- Start near a side seam to hide your knot.
- Keep the thread relaxed rather than pulling it tight.
- Press your folds before sewing.
- Check both pant legs before cutting.
- Use a thimble when working with heavy fabric.
- Work with shorter lengths of thread to reduce tangles.
A Simple Sewing Skill Worth Knowing
Hemming pants by hand is not complicated, but it is one of those little skills that can save both time and money.
Once you get comfortable making a small blind hem stitch, you can use the same basic technique to repair fallen hems, shorten skirts, adjust dresses, and handle many other simple clothing alterations.
And the best part is that all you really need is a needle, some thread, and a little patience.
Frequently Asked Questions
What stitch should I use to hem pants by hand?
A blind hem stitch is one of the best choices because it keeps most of the stitching hidden. A small slip stitch also works well.
How far apart should hand-hemming stitches be?
About ½ inch apart is a good starting point for most fabrics. They can be slightly closer on delicate fabrics.
Do I need to double the thread?
Not necessarily. A single strand works well for lightweight fabrics. You can use doubled thread when you want extra strength.
Do I need an iron?
You can hem pants without one, but pressing makes the process much easier and usually gives you a neater result.
Can beginners hem pants by hand?
Yes. Hemming is one of the better hand-sewing projects for beginners because most of the stitching is hidden and small imperfections are rarely noticeable.