If you’ve ever avoided a sewing pattern because it called for a buttonhole and your machine’s buttonhole foot is… let’s just say “missing in action,” I’ve got good news. Hand-sewn buttonholes aren’t just a workaround, they’re actually sturdier than a lot of machine-made ones, and once you get the rhythm down, they’re kind of meditative to stitch. Grab a cup of tea, because we’re doing this the old-fashioned way.
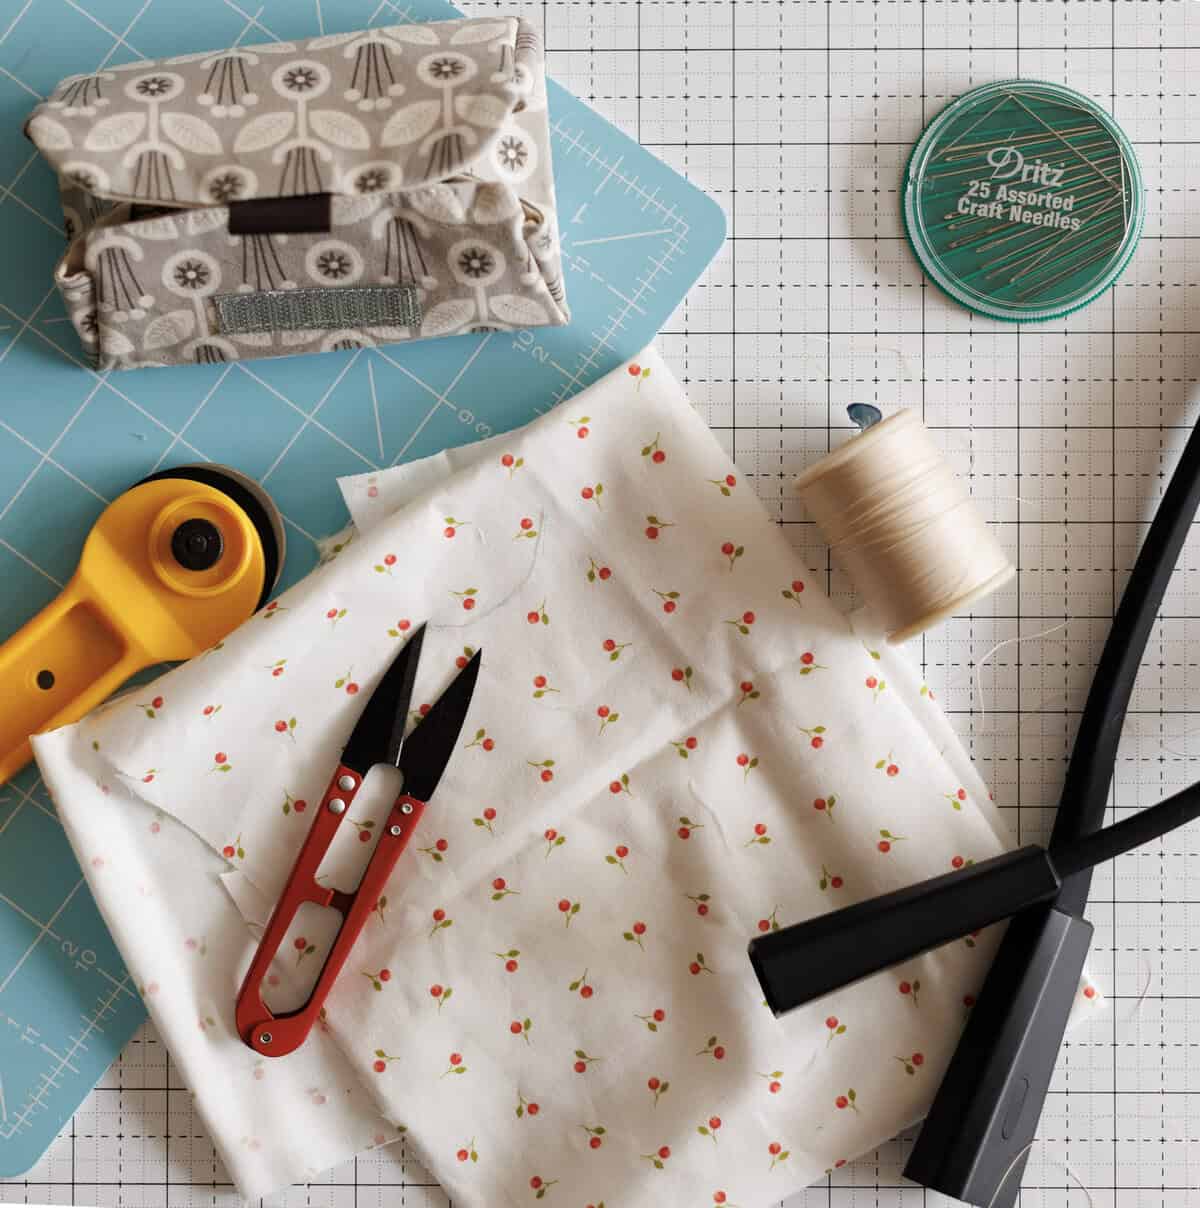
What You’ll Need
- The garment or project piece you’re adding a buttonhole to
- The button you’re sewing the hole for (measure it before you cut anything!)
- Embroidery floss or buttonhole twist thread ( Buttonhole twist is a heavy-duty thread made specifically for hand-sewn buttonholes—it’s thicker and stronger than regular sewing thread so it can hold up to daily wear while giving buttonholes a neat, finished look.regular sewing thread works in a pinch, but it frays faster)
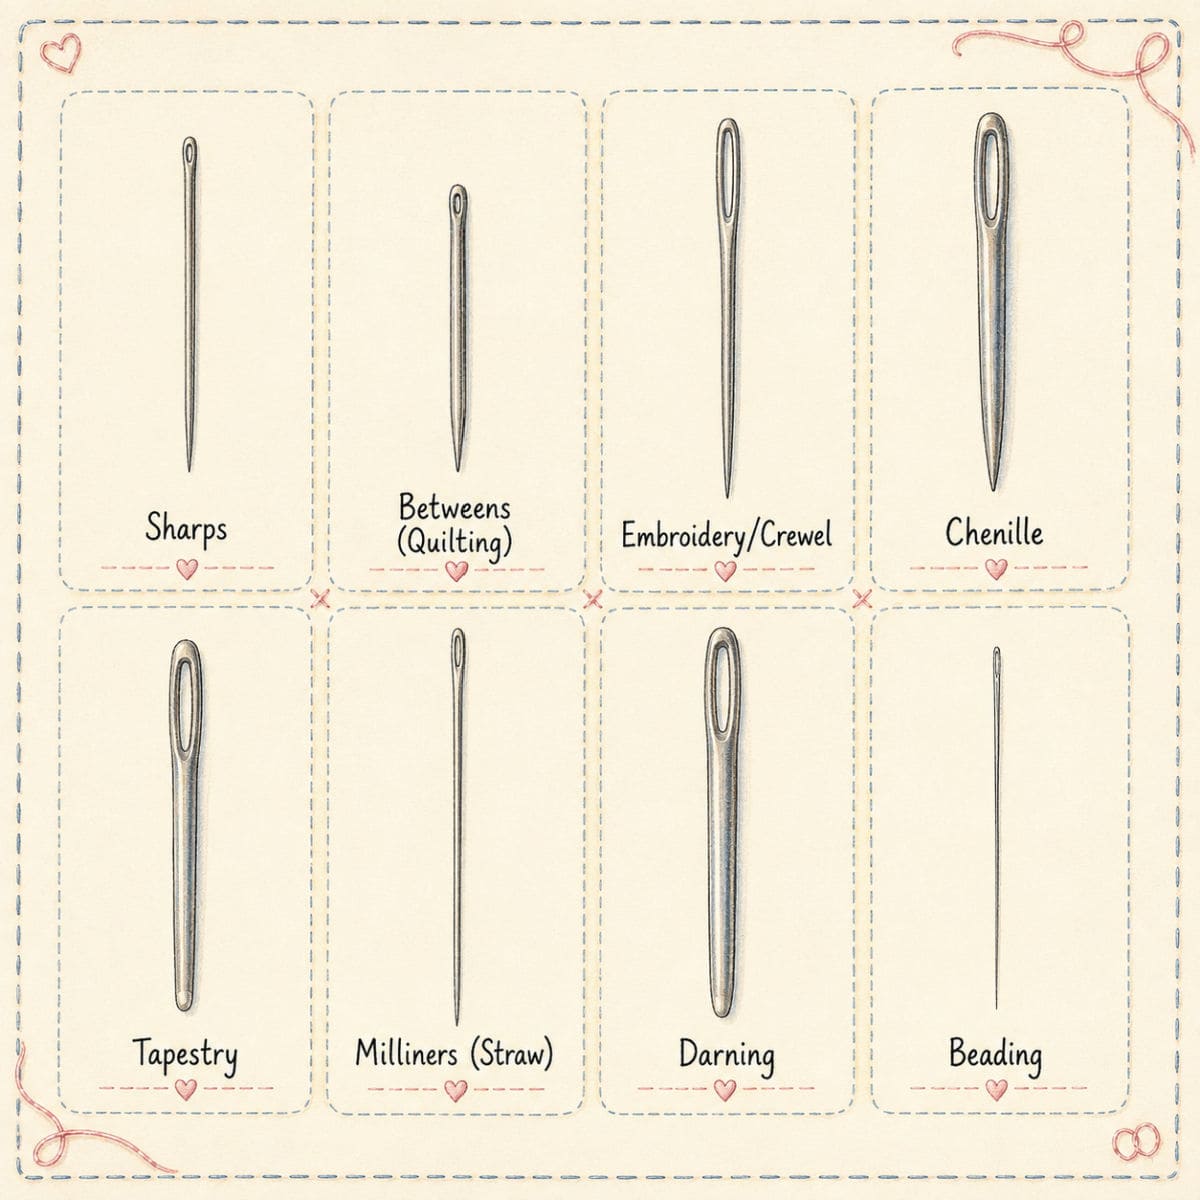
- A sharp hand-sewing needle (embroidery needles work great)
- Small, sharp scissors or a seam ripper
- A pin
- Tailor’s chalk or a fabric marking pen
- Fusible interfacing (if your fabric is lightweight or prone to fraying)
- A thimble (optional, but your fingertip will thank you)
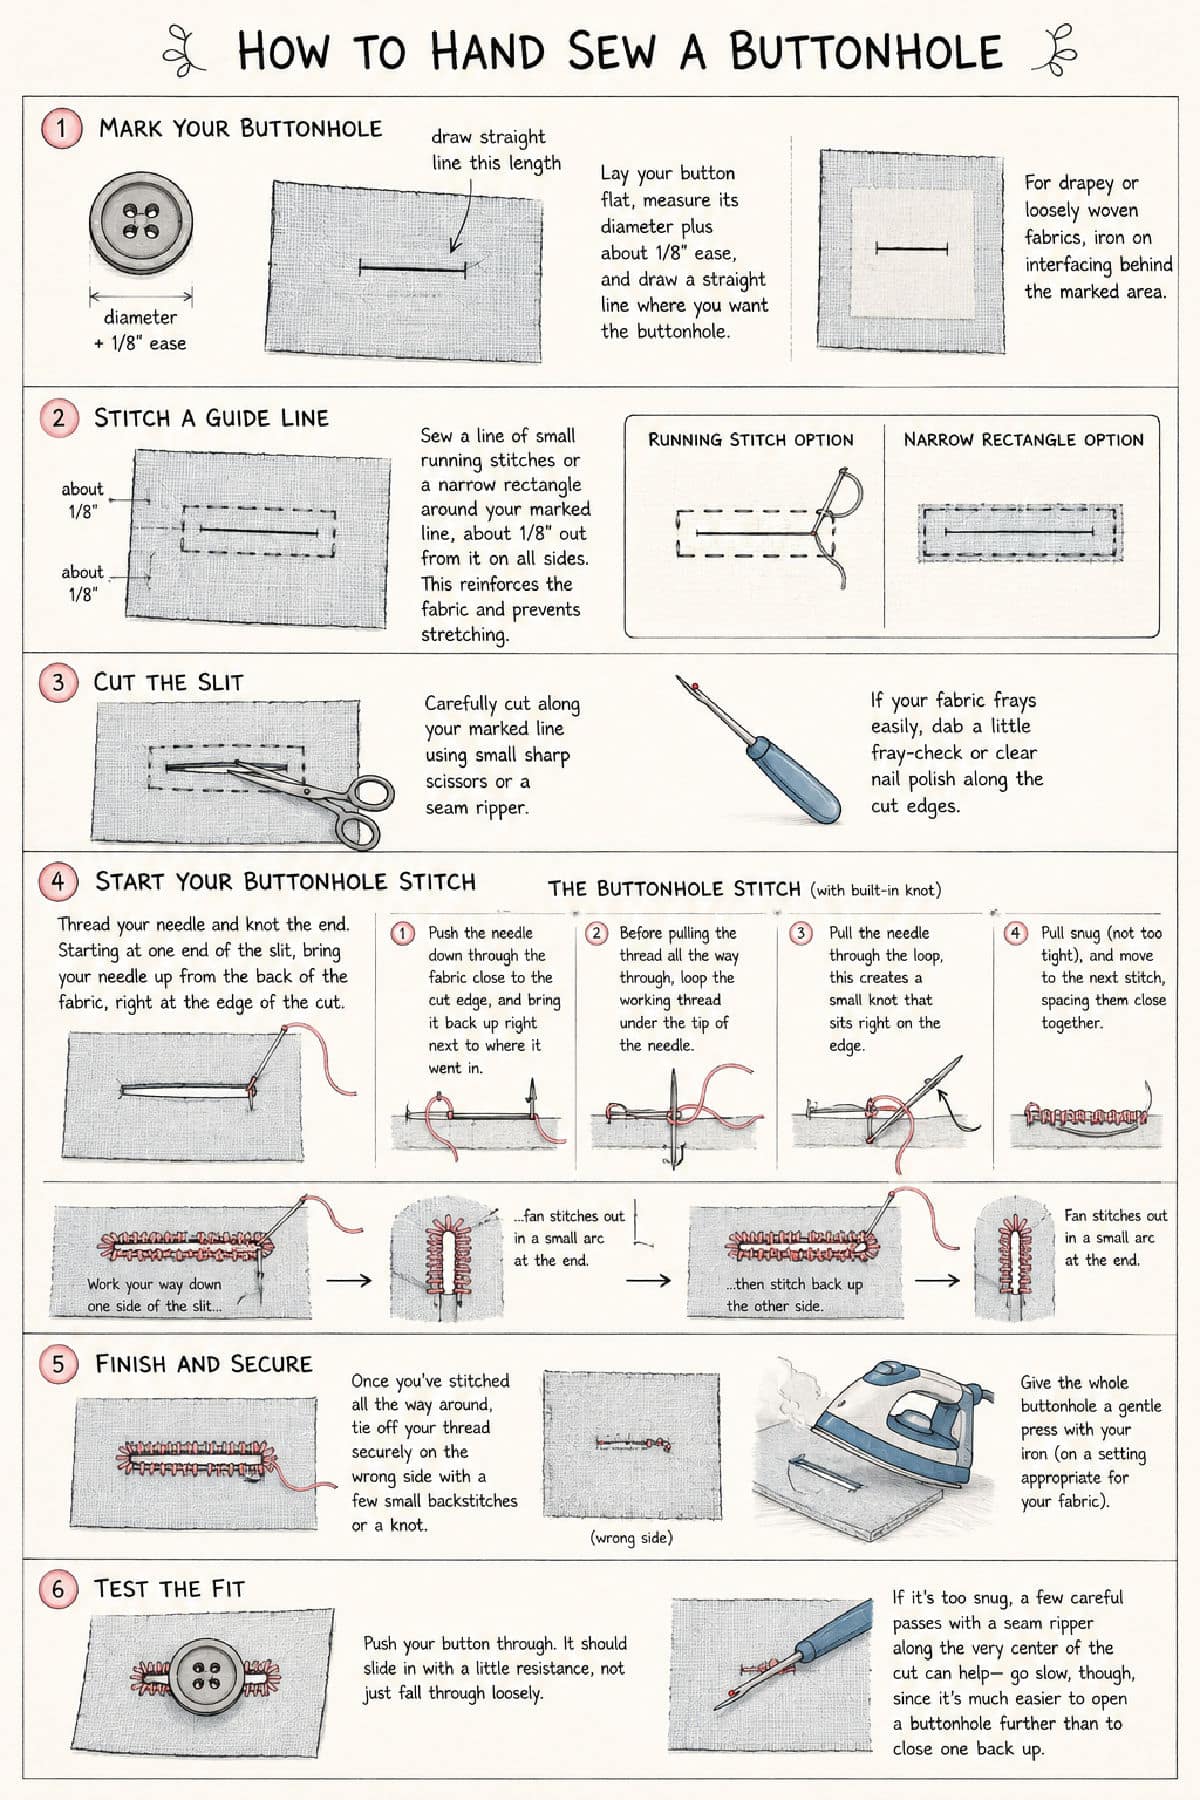
Step 1: Mark Your Buttonhole
Lay your button flat on the fabric where the buttonhole will go, then measure its diameter plus about 1/8 inch for ease, buttons need a little wiggle room to slide through comfortably. Use your chalk or marking pen to draw a straight line that length, right where you want the buttonhole to sit.
If you’re working with something drapey or loosely woven, now’s the time to iron on a small square of interfacing behind the marked area. It keeps everything from stretching out of shape while you stitch, and honestly, it makes the next few steps a lot less stressful.
Step 2: Stitch a Guide Line
Before you cut anything (I promise this step is worth it), sew a line of small running stitches or a narrow rectangle around your marked line, about 1/8 inch out from it on all sides. This little frame reinforces the fabric so it doesn’t stretch or fray once you make the cut. Think of it as a seatbelt for your buttonhole.
Step 3: Cut the Slit
Carefully cut along your marked line using small sharp scissors or a seam ripper. Go slowly here; you want a clean, straight slit, not a jagged one. If your fabric is prone to fraying, a tiny dab of fray-check or clear nail polish along the cut edges can save you some grief later.
Step 4: Start Your Buttonhole Stitch
This is the heart of the whole project, so let’s slow down a bit. Thread your needle and knot the end. Starting at one end of the slit, bring your needle up from the back of the fabric, right at the edge of the cut.
Now, instead of a regular whipstitch, you’re going to do a proper buttonhole stitch, which has a little knot built into each loop:
- Push the needle down through the fabric, close to the cut edge, and bring it back up right next to where it went in.
- Before pulling the thread all the way through, loop the working thread under the tip of the needle.
- Pull the needle through the loop, this creates a small knot that sits right on the edge of the fabric.
- Pull snug (not too tight, or the fabric will pucker) and move to the next stitch, spacing them close together.
Work your way down one side of the slit, then pivot around the end, and stitch back up the other side. At each end, fan your stitches out slightly in a small arc this reinforces the spot that takes the most stress every time the button goes in and out.
Step 5: Finish and Secure
Once you’ve stitched all the way around, tie off your thread securely on the wrong side of the fabric with a few small backstitches or a knot. Give the whole buttonhole a gentle press with your iron (on a setting appropriate for your fabric) to help everything settle into place.
Step 6: Test the Fit
Push your button through. It should slide in with a little resistance, not just fall through loosely. If it’s too snug, a few careful passes with a seam ripper along the very center of the cut can help — go slow, though, since it’s much easier to open a buttonhole further than to close one back up.
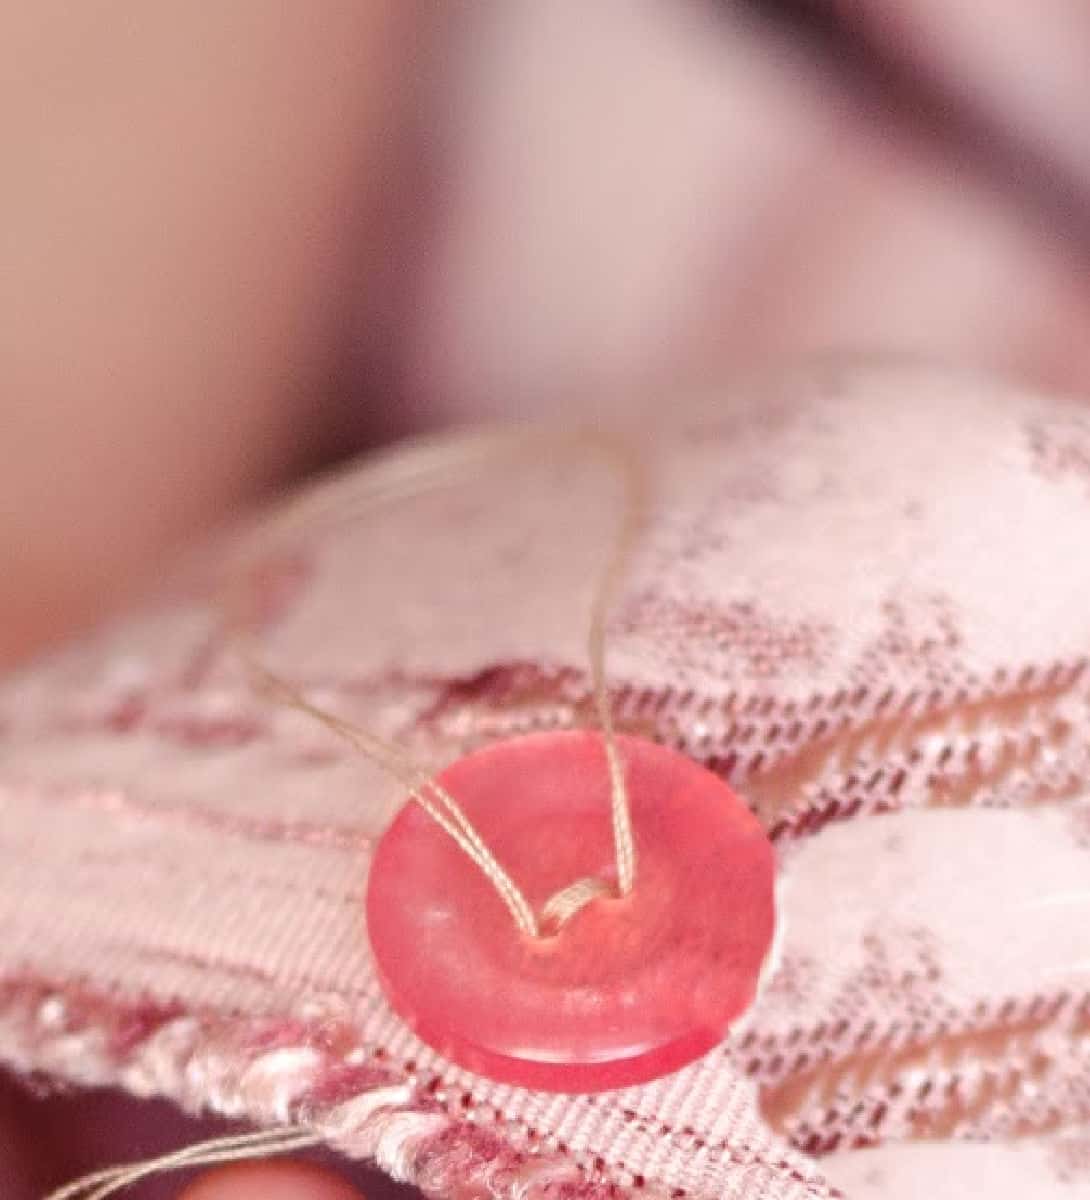
Now that you have the button hole, lets learn how to hand sew on the button!
Tips
- Practice on scrap fabric first. Buttonhole stitch has a rhythm to it, and your first few will look a little wonky. That’s normal by the third or fourth one, your hands will know what to do.
- Use embroidery floss for durability. It’s thicker than regular thread and holds up beautifully to repeated buttoning and unbuttoning.
- Keep stitches close together. The tighter your stitches, the cleaner and more durable the finished buttonhole will be. Gaps are where fraying sneaks in.
- Don’t rush the cutting step. A crooked cut is the one thing you really can’t fix later, so take your time and cut once.
- Mark all your buttonholes before you sew any of them. If you’re doing a whole row down a shirt front, marking them all first keeps the spacing even and saves you from an “oh no” moment halfway through.
Hand-sewn buttonholes take a little patience, but there’s something really satisfying about finishing one and knowing you made it entirely with your own two hands, no machine, no fuss, just needle and thread doing exactly what they’re supposed to do.