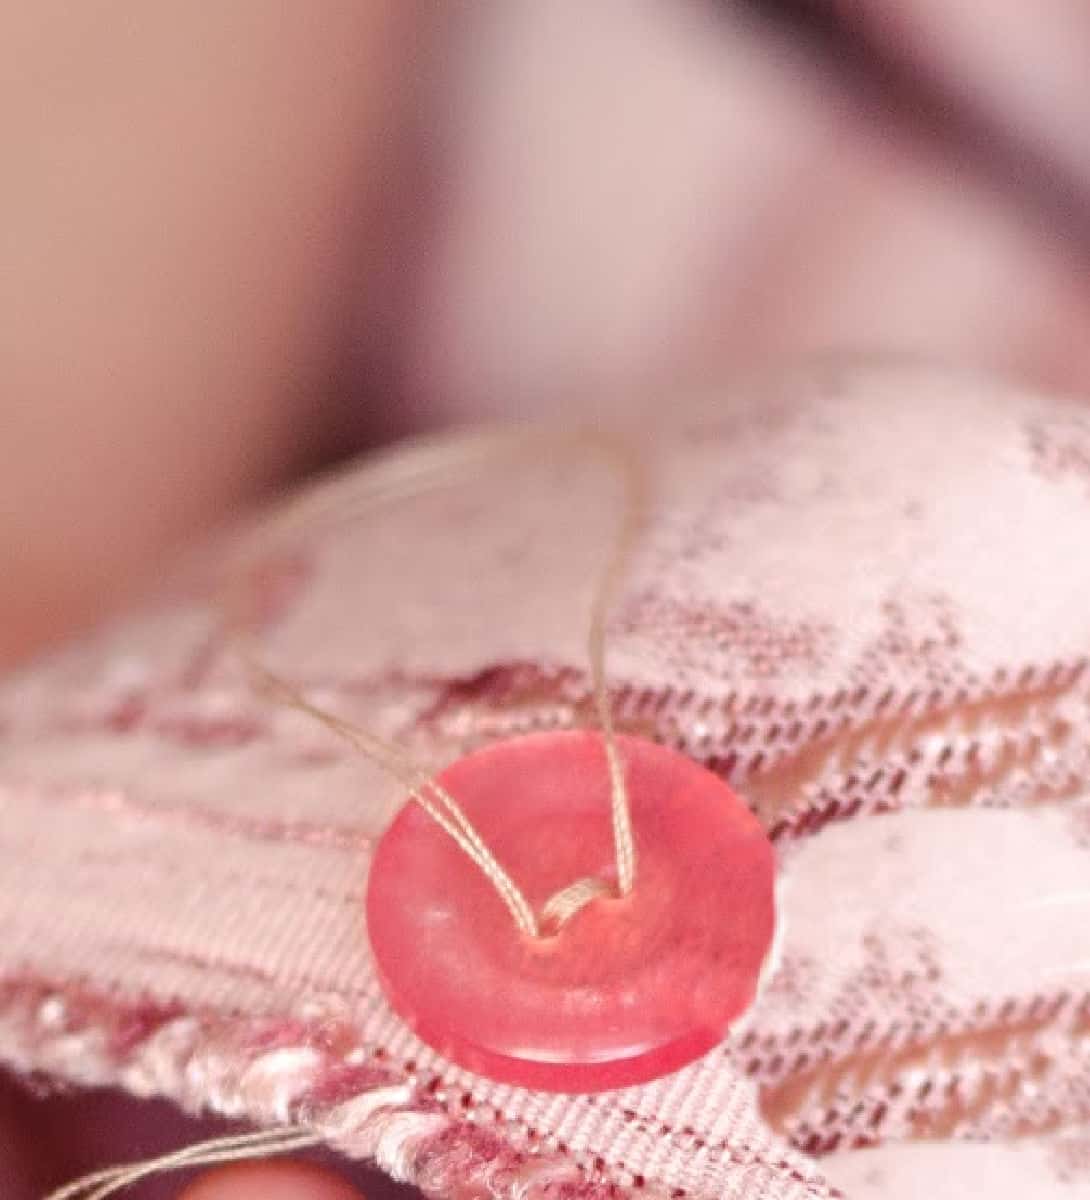
This handmade quilted mixer mat is a simple way to protect your countertop and make moving a heavy stand mixer a little easier. Made with cotton fabric and a layer of fusible fleece, the finished mat slides across many smooth countertops, making it easier to pull your mixer forward when you’re ready to use it and tuck it back afterward.
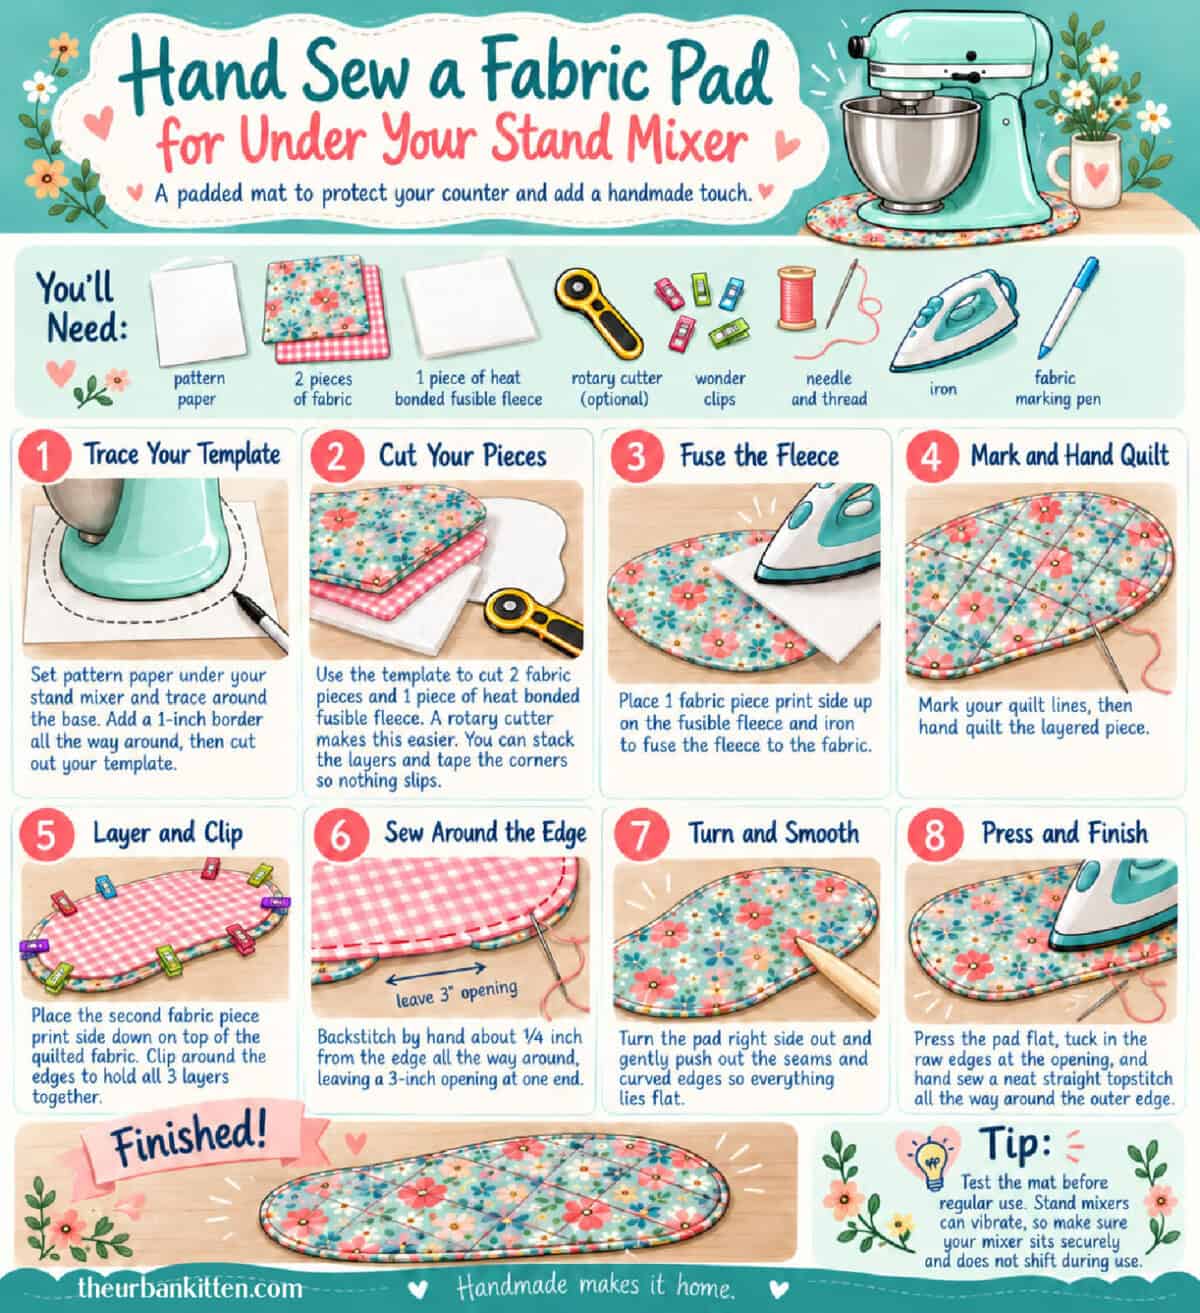
Supplies
- Pattern Paper – You don’t need anything fancy, you can use pattern paper or go frugal use a cut up paper bag.
- Fabric – I like a medium weight cotton fabric for durability, nothing nubby or textured, you want a smooth fabric so it glides easily across the countertop.
- Heat Bond Fusible Fleece – This goes between the two fabric piece and its important to hold the structure of the mat. The product I use is; Heat n’ Bond Fusible Fleece (←affiliate link) is available at craft stores and on Amazon. The package comes in a smaller 20 inch by 1 yard size and is machine washable and dryable.
- Rotary Cutter – It’s just easier, but you can also you fabric scissors.
- Thread – Use a good cotton quilting thread if you will quilt the top. The quilting part is really optional but it does make a nice touch.
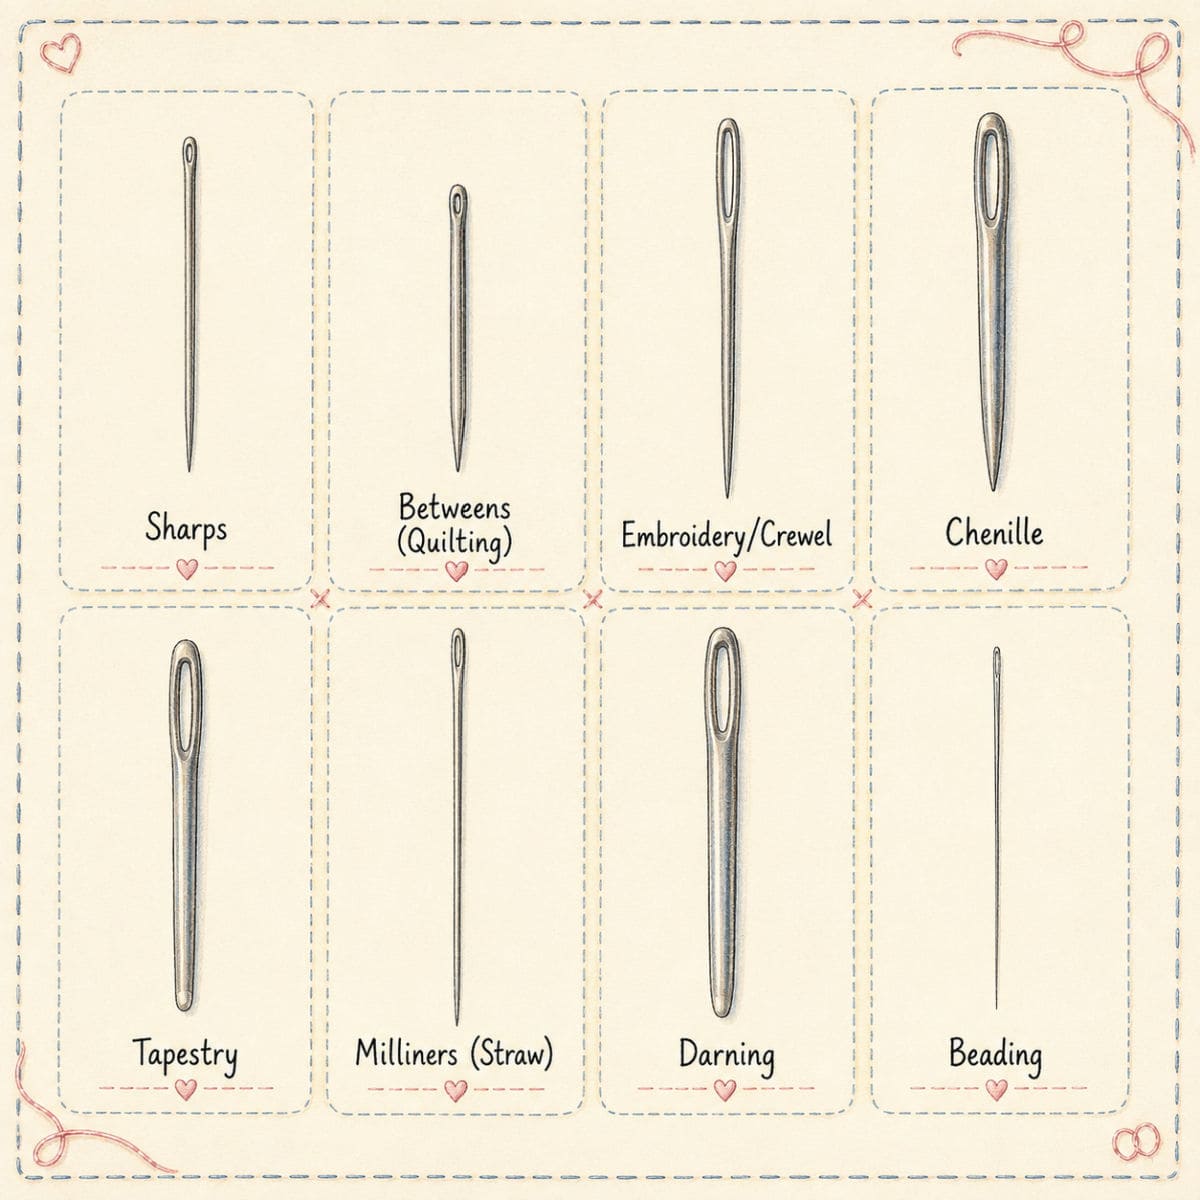
- Needles – I use two different sizes; #9 Quilting needle if I’m quilting the top layer and a #9 Milliners needle for stitching the seams. The longer sharp milliner needle should go through the three layers easily.
- Clips – I like the wonder clips because it holds the fabric layers together without puckering, but you should use what you have.
- Fabric Marking Pen – This is great for marking your border stitches. I use it so I don’t veer to far off the ¼ inch mark on the seam.
How to Hand Sew a Quilted Stand Mixer Mat
Step 1: Make Your Paper Template
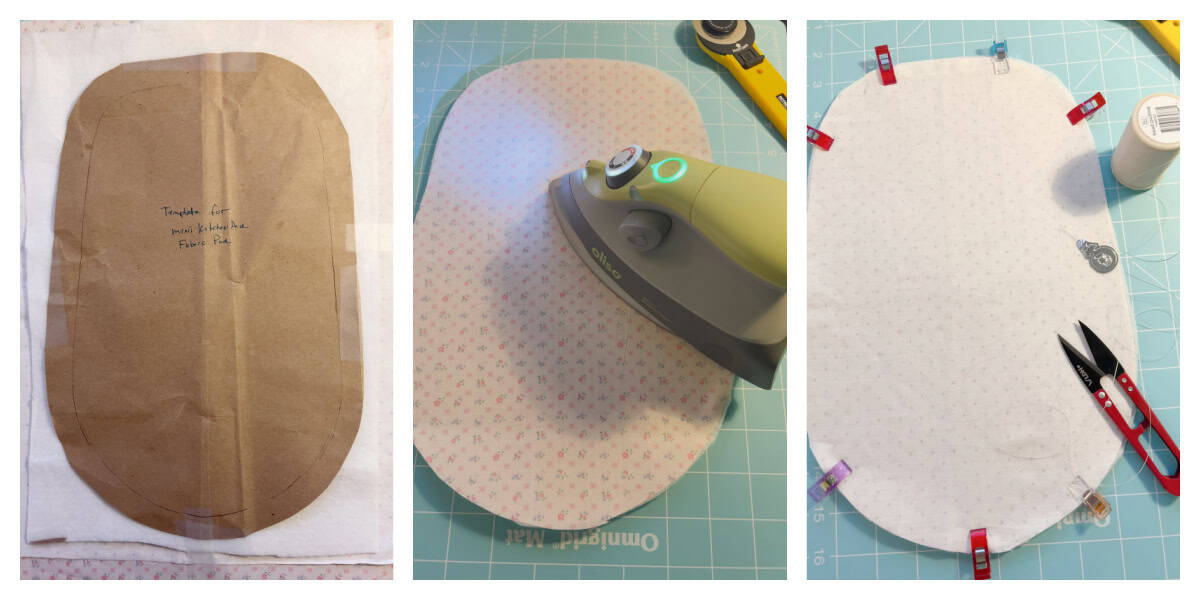
Place a sheet of pattern paper underneath your stand mixer. Using a pencil, carefully trace around the base of the mixer to create an outline of its shape.
Remove the mixer and measure 1 inch outward from your traced outline, making small marks all the way around. Connect the marks to create a second, larger outline with smooth, rounded edges.
Cut along the outer line to create your paper template. The extra inch provides room for the seam allowance and creates a slightly larger finished mat.
Step 2: Cut Your Fabric and Fusible Fleece
Lay your paper template on your chosen cotton fabric and cut out two matching pieces. You’ll also need one piece of heat-bonded fusible fleece cut to the same shape.
A rotary cutter and cutting mat make this step easier, especially when cutting around the curved edges. You can stack your fabric and fleece layers together and cut them at the same time if you prefer.
To prevent the layers from shifting, secure the corners with small pieces of tape outside the cutting area, or use fabric weights to hold everything in place.
When finished, you should have three matching pieces: two cotton fabric pieces and one piece of fusible fleece.
Step 3: Fuse the Fleece to the Fabric
Place one piece of cotton fabric on your ironing surface with the wrong side facing up.
Position the fusible fleece on top, with the adhesive side against the wrong side of the fabric. Make sure the edges of both pieces line up.
Following the manufacturer’s instructions for your fusible fleece, use your iron to bond the fleece to the fabric. A pressing cloth can help protect your fabric.
Allow the fused fabric to cool before moving it. This will become the quilted top of your mixer mat.
Step 4: Mark and Hand Quilt Your Fabric
Before assembling the mat, decide on your quilting pattern. Simple diagonal lines or a diamond pattern work especially well for beginners.
Using a washable fabric marking pen or tailor’s chalk, lightly draw your quilting lines on the right side of the fabric.
Thread your hand-sewing needle with quilting thread and make a small knot at the end. Using a running stitch, sew along each marked line, stitching through both the cotton fabric and the fused fleece.
Keep your stitches reasonably even and avoid pulling the thread too tightly, which can cause the fabric to pucker.
Continue until you’ve completed your quilting pattern. Remove any visible markings according to the marking tool’s instructions.
Step 5: Layer and Clip the Fabric Together
Lay your quilted fabric piece on a flat surface with the printed side facing up.
Place the second piece of cotton fabric directly on top, with its printed side facing down. The right sides of the two fabric pieces should now be facing each other, with the fusible fleece on the outside of the fabric sandwich.
Carefully align all the edges, making sure the curved ends match.
Use Wonder Clips around the perimeter to hold the layers securely together. Place the clips close enough to prevent the fabric from shifting while you sew.
Step 6: Hand Sew Around the Edges
Thread your needle with a strong cotton or polyester sewing thread and knot the end.
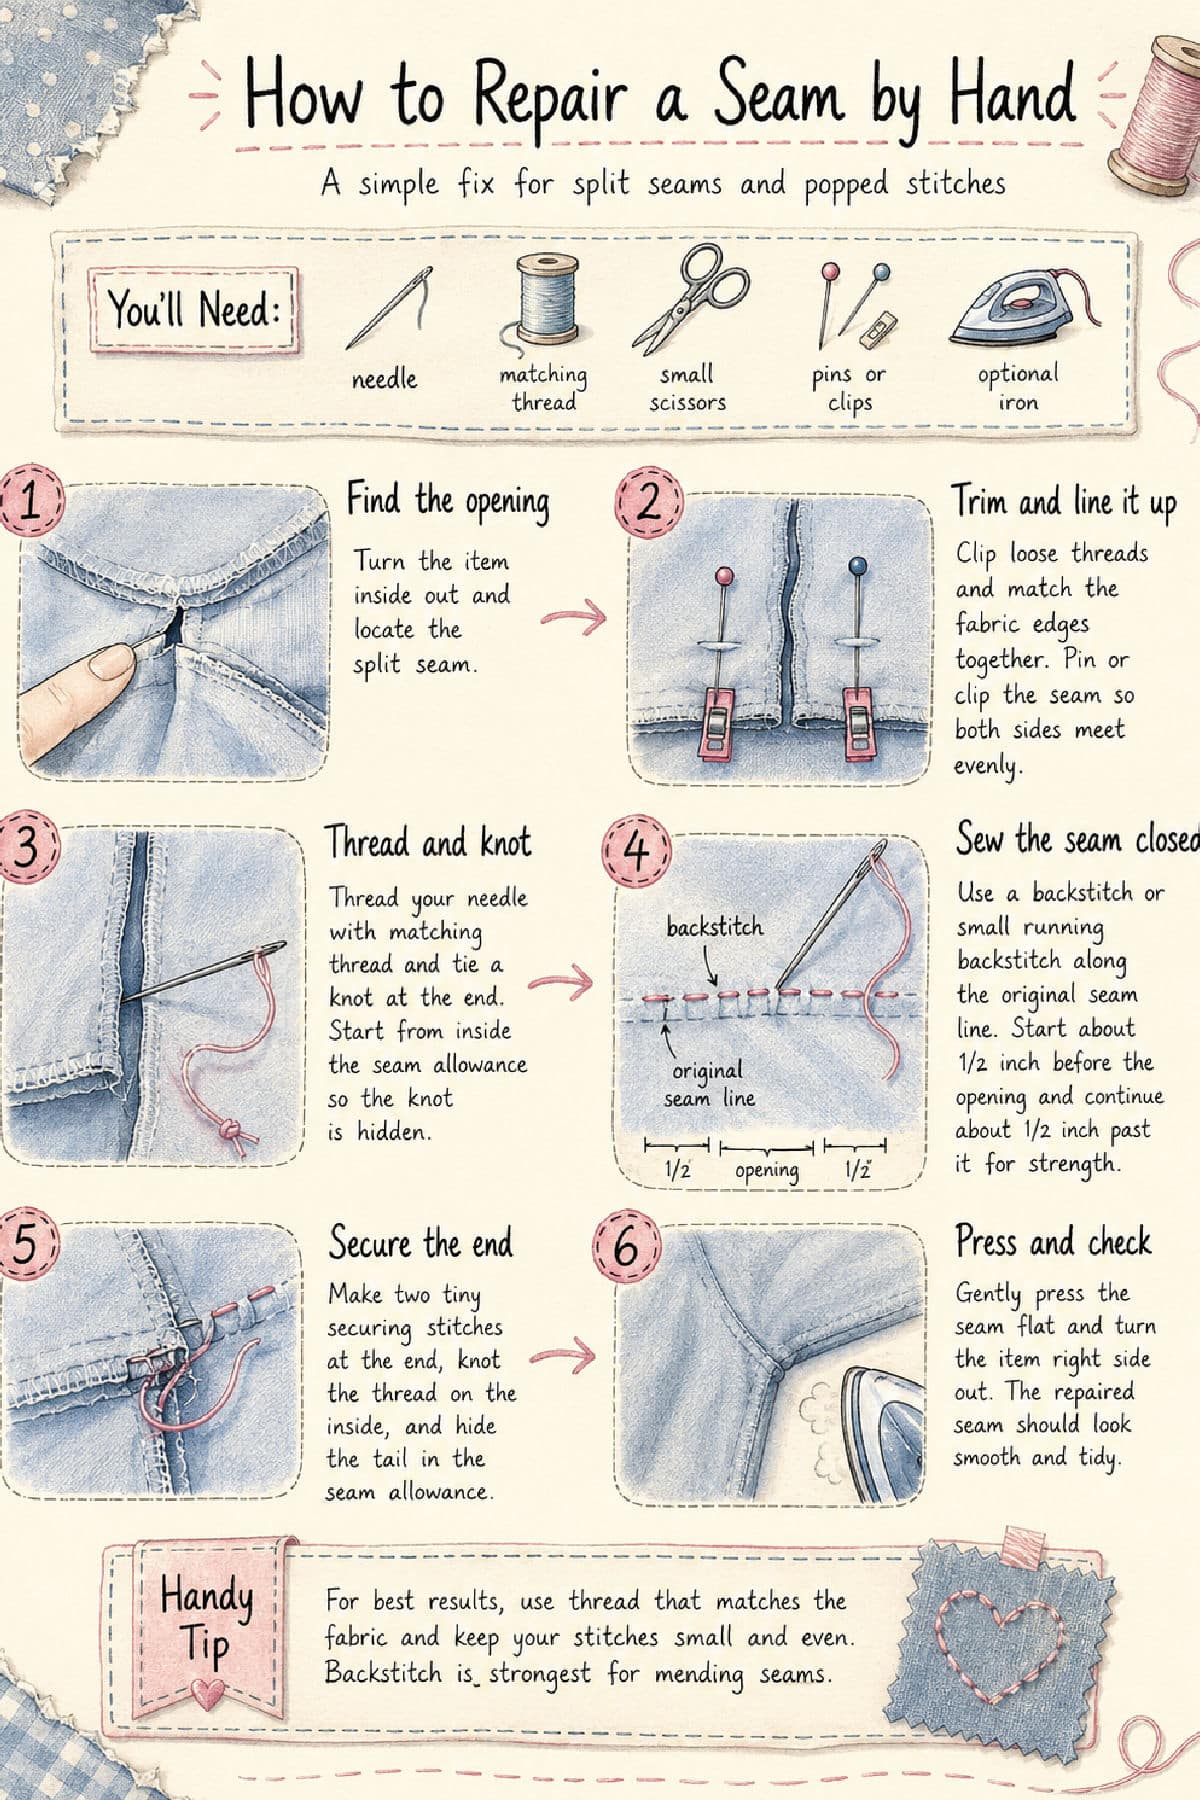
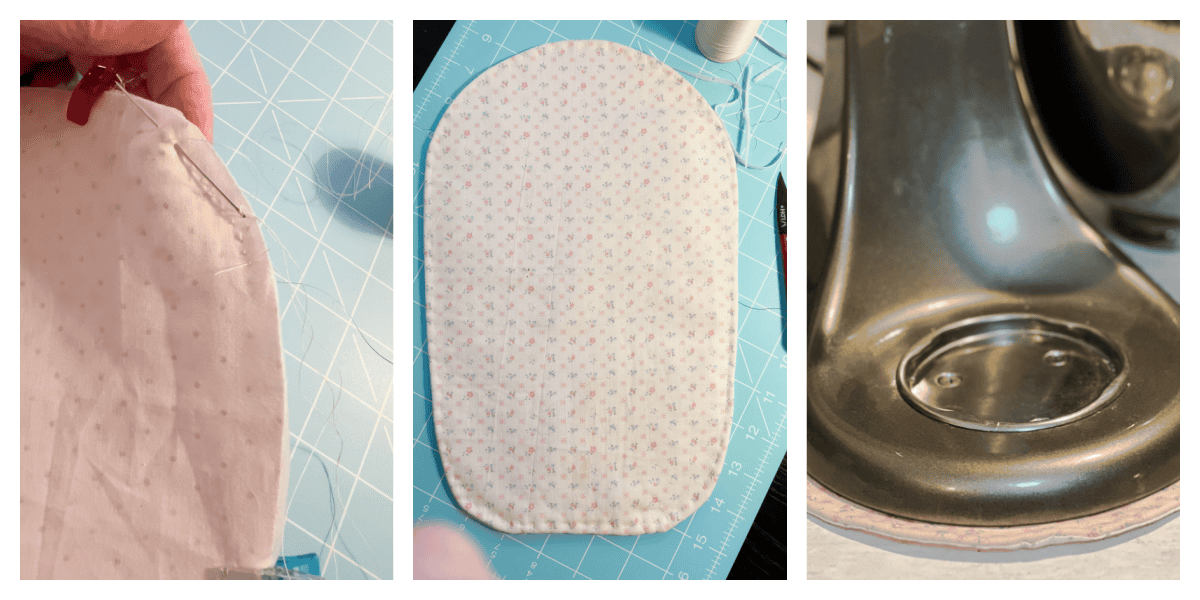
Starting near one end of the mat, use a backstitch to sew through all the layers, keeping your stitching approximately ¼ inch from the raw edge.
A backstitch is a good choice for this step because it creates a strong, secure seam.
Continue sewing around the entire mat, following its curved shape. Leave an opening approximately 3 inches long at one end so you can turn the mat right side out.
Secure your thread with a knot when you reach the opening.
Before turning, carefully trim any excess seam allowance if needed. You can also make a few small clips into the seam allowance along tight curves, taking care not to cut through your stitching.
Step 7: Turn the Mat Right Side Out
Reach through the 3-inch opening and gently pull the fabric through until the mat is completely right side out.
Use a blunt turning tool, such as a wooden chopstick or point turner, to carefully push out the curved ends and smooth the edges.
Take your time with this step. You want the mat to lie flat, with smooth curves and no fabric bunched up along the seams.
Avoid using anything sharp that could poke through the fabric or damage your stitches.
I made my mat to fit my smaller 3.5 quart KitchenAid stand mixer and it took under 2 hours to cut, pin and sew everything. I tend to sew slow. 🧵🪡
Step 8: Press and Hand Sew the Finished Edge
Place your mat on the ironing board and gently press it flat, paying special attention to the curved edges.
At the 3-inch opening, fold the raw edges inward approximately ¼ inch so they line up with the sewn seam. Press the folds to help them stay in place.
Use Wonder Clips to hold the opening closed.
Thread your needle and begin sewing a neat row of small running stitches around the entire outer edge of the mat, approximately ⅛ inch from the finished edge.
When you reach the opening, make sure your stitches catch both folded edges to securely close it.
Continue stitching until you’ve gone all the way around the mat. Knot your thread securely and hide the thread tail between the fabric layers.
Give your finished mixer mat one last light press, and your hand-sewn quilted stand mixer mat is complete!
Safety Tips: Using Your Stand Mixer Mat
Stand mixers are heavy appliances that can vibrate or shift during operation, particularly when mixing thick dough. Because this handmade mat is designed to slide easily across the countertop, there is a risk of the mixer moving while in use.
My recommendation is to remove the mat before operating your stand mixer and place the mixer directly on a clean, stable countertop.
If you choose to leave the mat underneath your mixer during operation, be aware that it may increase the risk of the mixer sliding or shifting. Always keep your mixer away from the countertop edge, never leave it running unattended, and stop immediately if you notice any movement.
Please note: This handmade mat is not a manufacturer-approved accessory. Its performance will vary depending on the fabric, countertop surface, and mixer model. Always follow the manufacturer’s safety instructions.