
Let’s be honest: losing a button is one of life’s tiny, annoying tragedies. One minute your favorite shirt is perfectly put together, the next it’s flapping open like it gave up on life. But here’s the good news, hand sew on a button back on is one of the easiest sewing skills there is, and once you know how, you’ll never panic-buy a new shirt over a missing button again.
Grab your coffee, find a comfy spot, and let’s get that button back where it belongs.
What You’ll Need
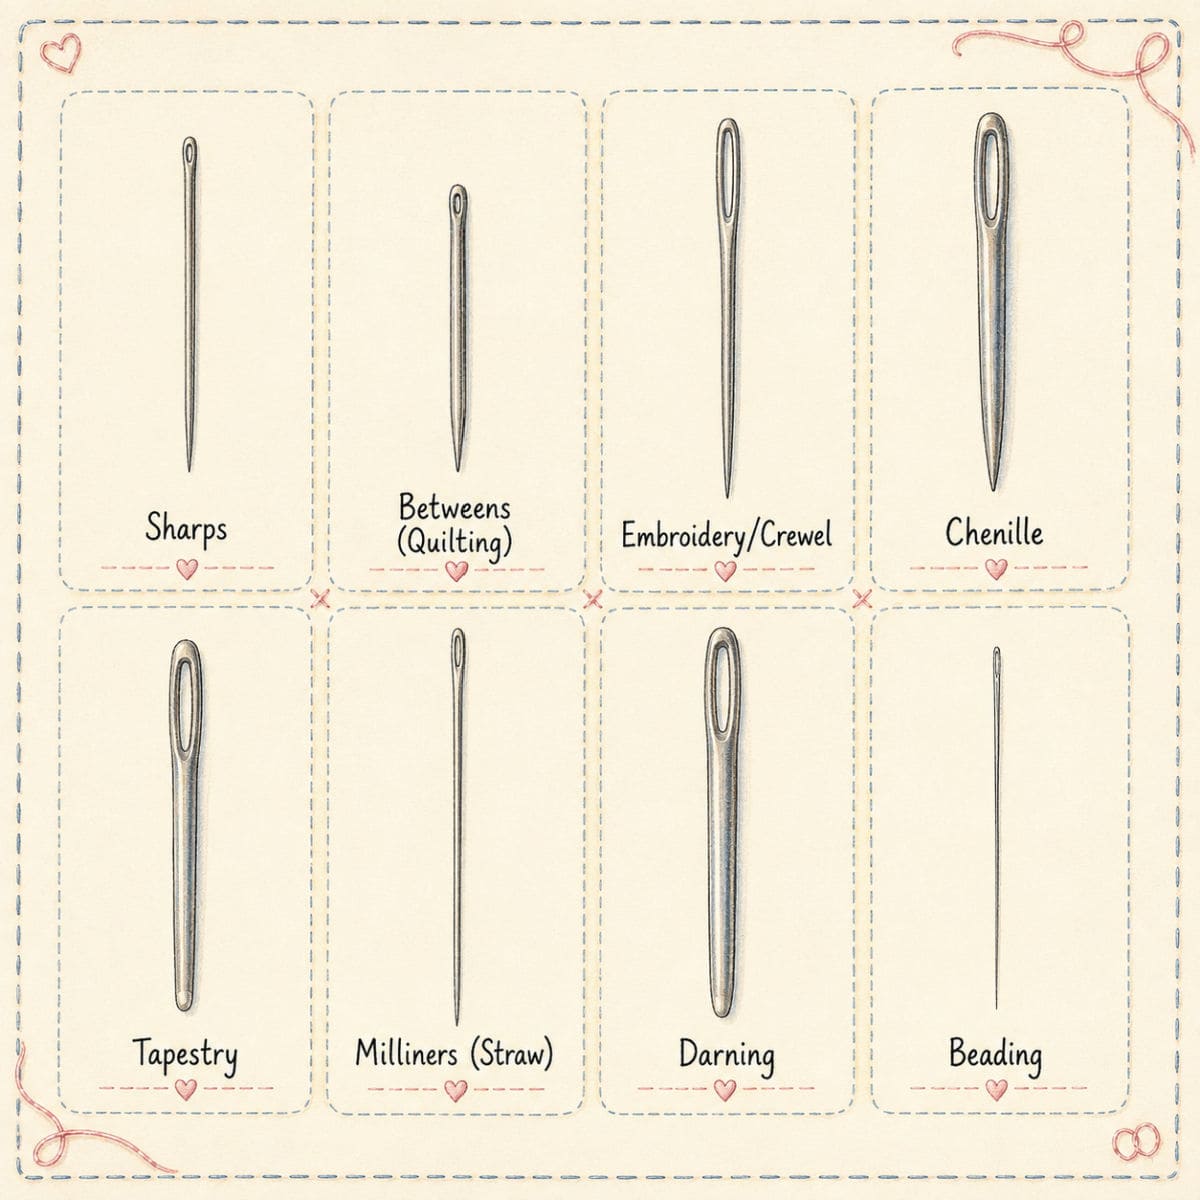
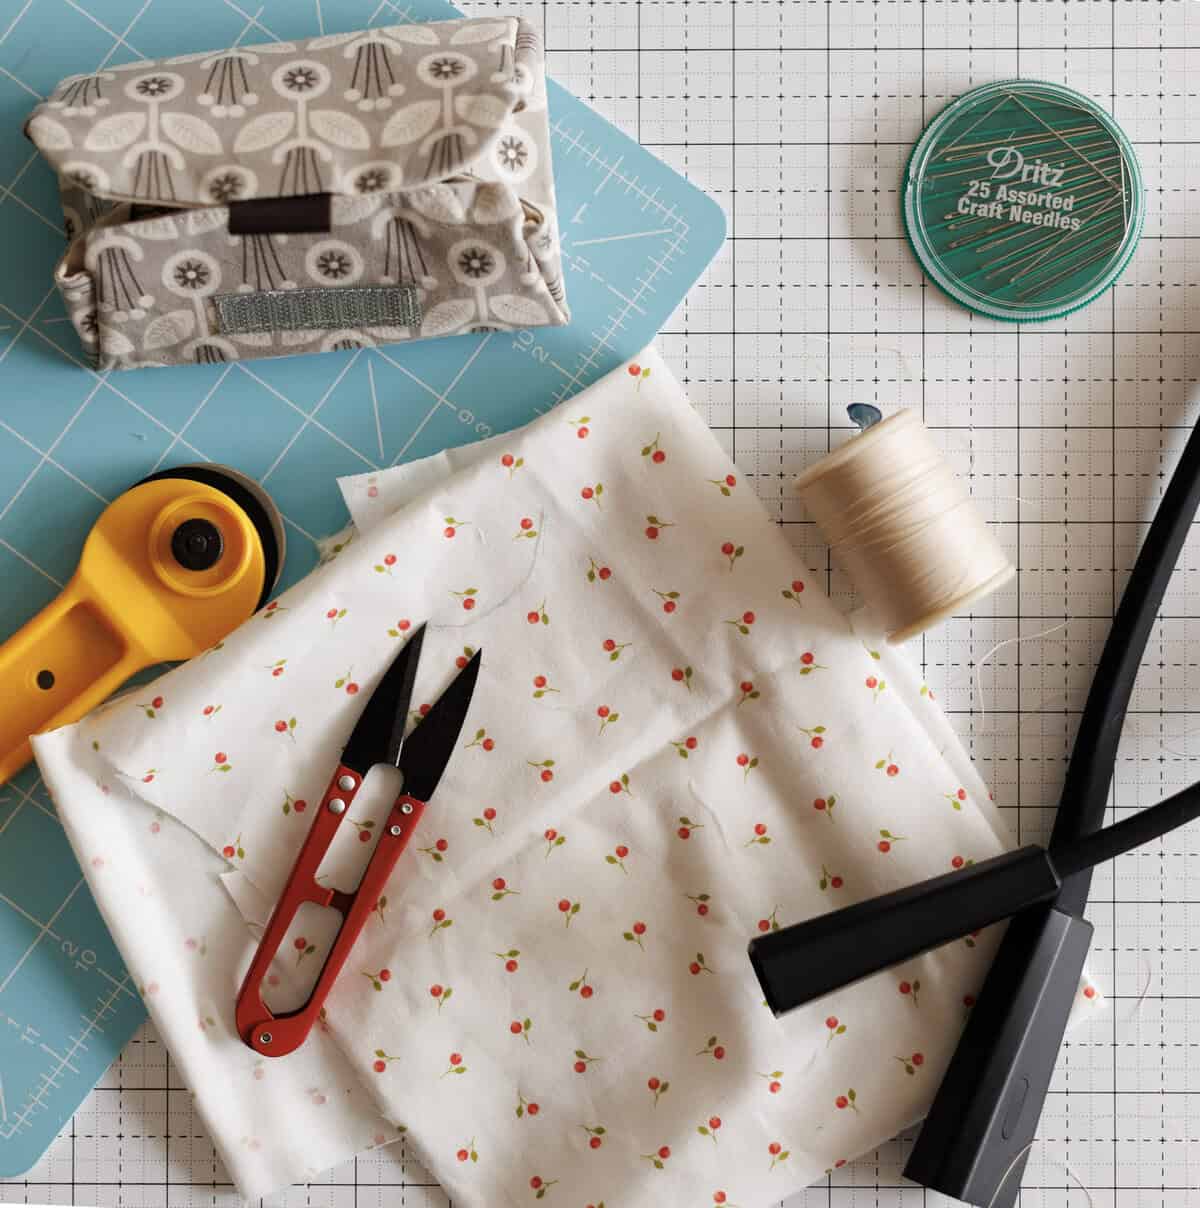
- A needle (a basic hand-sewing needle is perfect)
- Thread that matches your fabric (or doesn’t — rebellious buttons are cool too)
- The button itself (dig around in that little baggie that came with your garment — you know the one)
- Scissors
- A pin or toothpick (optional, but it’s my secret weapon — more on that below)
That’s it. No fancy tools, no sewing machine, no drama.
Lets Sew On A Button!
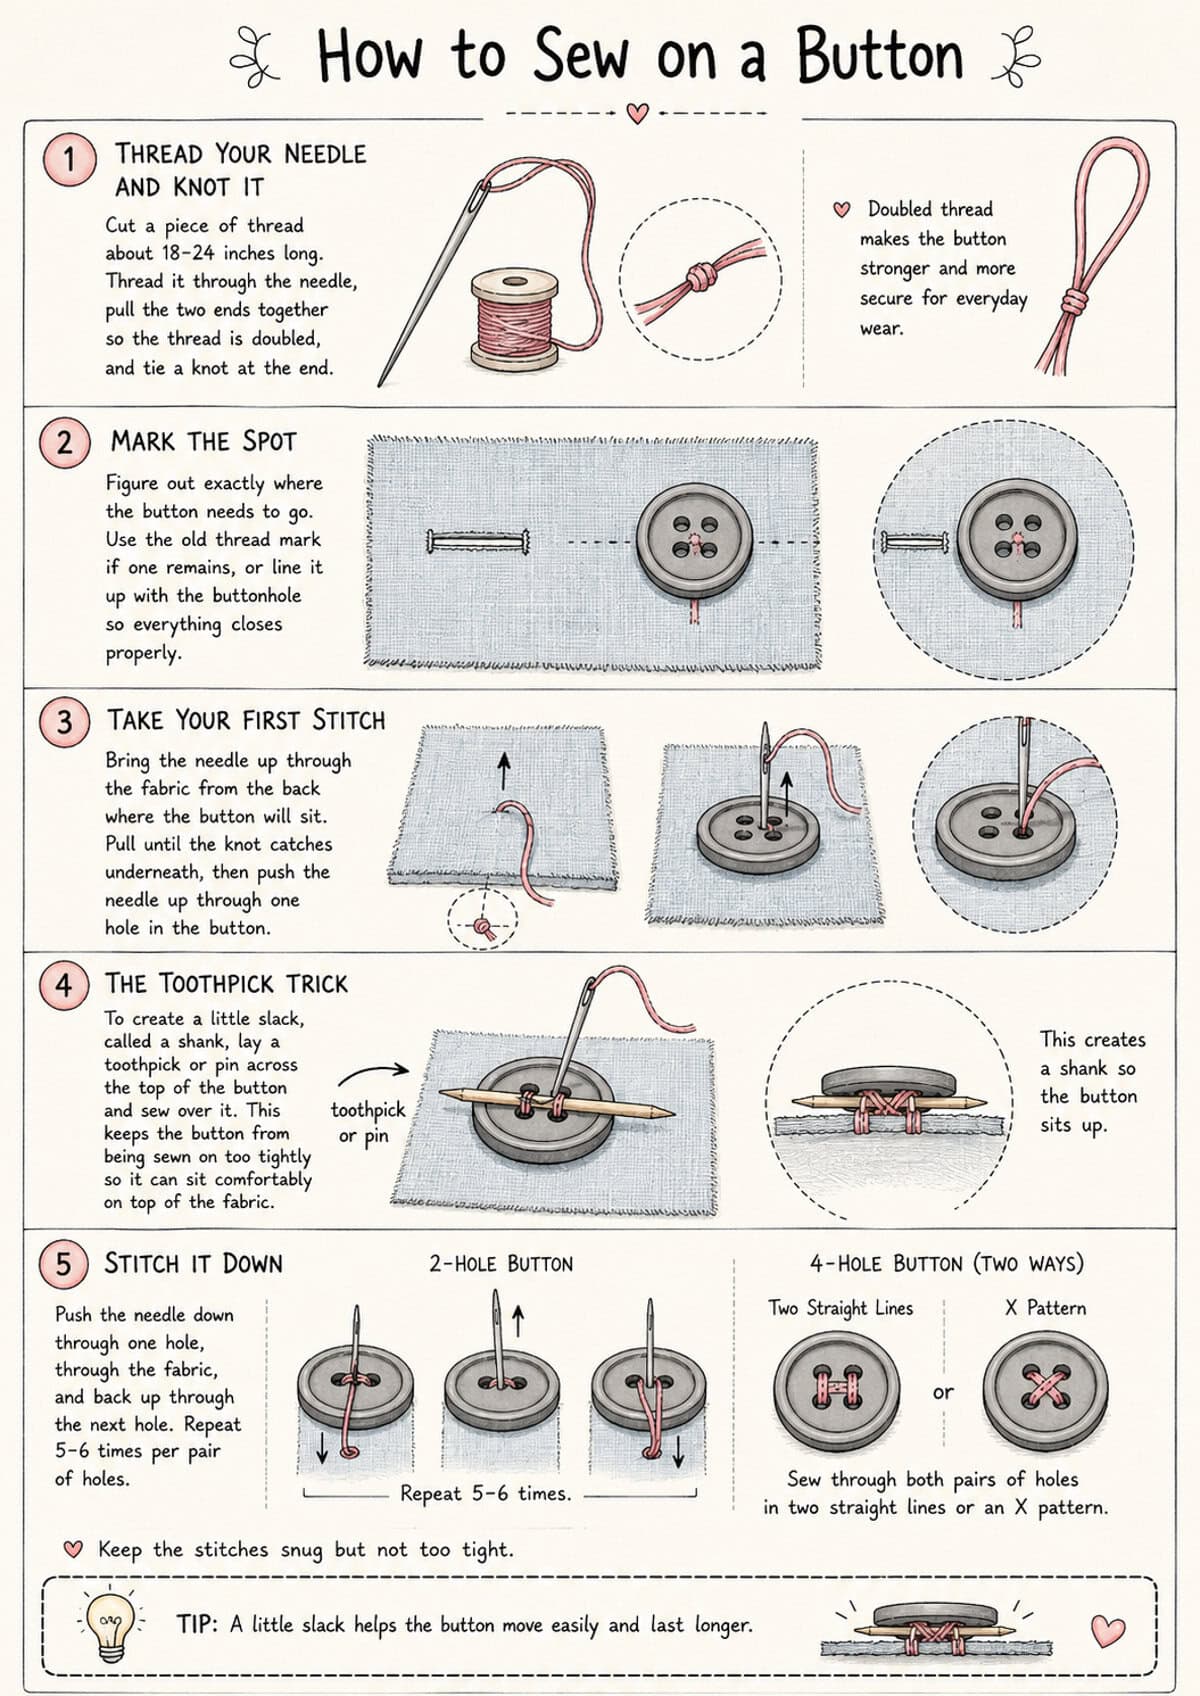
- Step 1: Thread Your Needle and Knot It Cut a piece of thread about 18-24 inches long — long enough to work with, but not so long you’re wrestling with it the whole time. Thread it through your needle, then pull the two ends together so you’ve got a doubled-up thread. Tie a knot at the end. Doubling the thread makes it stronger, which matters because buttons take a lot of abuse (hello, everyday wear and tear).
- Step 2: Mark the Spot Figure out exactly where the button needs to go. If there’s still a little thread or a faint mark from the old button, great, you’ve got your spot. If not, just line it up with the buttonhole so everything closes properly, and hold it in place with your finger.
- Step 3: Take Your First Stitch Poke your needle up through the fabric from the back, right where you want the button to sit. Pull it all the way through so the knot catches on the underside of the fabric. Then push the needle up through one of the holes in your button.
You’re officially in business.
- Step 4: The Toothpick Trick (Trust Me on This One) Here’s the part that separates “button that falls off again in a week” from “button that stays put for years”: you need a little bit of slack, called a shank, so the button can sit comfortably on top of the fabric without being sewn on too tight. Lay a pin or toothpick across the top of the button, between the holes. Sew your stitches right over it. It sounds a little silly, but it works like a charm.
- Step 5: Stitch It Down Now just repeat the up-and-down motion:
- Push the needle down through one hole, through the fabric, and back up through the next hole.
- Do this 5-6 times per pair of holes.
- If your button has four holes, sew through both pairs the same way (either two straight lines or a little X pattern both work great).
Keep your stitches snug but not white-knuckle tight.
- Step 6: Remove the Toothpick and Wrap the Shank Once you’ve got your stitches in, gently pull out the pin or toothpick. You’ll notice the button now has a little room to breathe between it and the fabric that’s your shank space, and it’s exactly what you want. Bring your needle up through the fabric (but not through the buttonholes this time), right underneath the button. Wrap your thread around those loose stitches under the button a few times, like you’re giving them a cozy little hug. This reinforces the shank and keeps everything sturdy.
- Step 7: Tie It Off Push your needle through to the back of the fabric one last time. Make a small knot right against the fabric. I like to loop the needle through the thread a couple times before pulling tight, so it doesn’t slip. Snip off the extra thread.
And that’s it. Your button is back, it’s sturdy, and it’s not going anywhere.
What About Shank Buttons?
Every once in a while you’ll run into a button with no holes on top at all , just a little loop poking out from the back. That’s called a shank button, and coats, blazers, and fancier garments love to use them. Good news: they’re actually even easier to sew on, since the shank is already built in for you.
Here’s how it works:
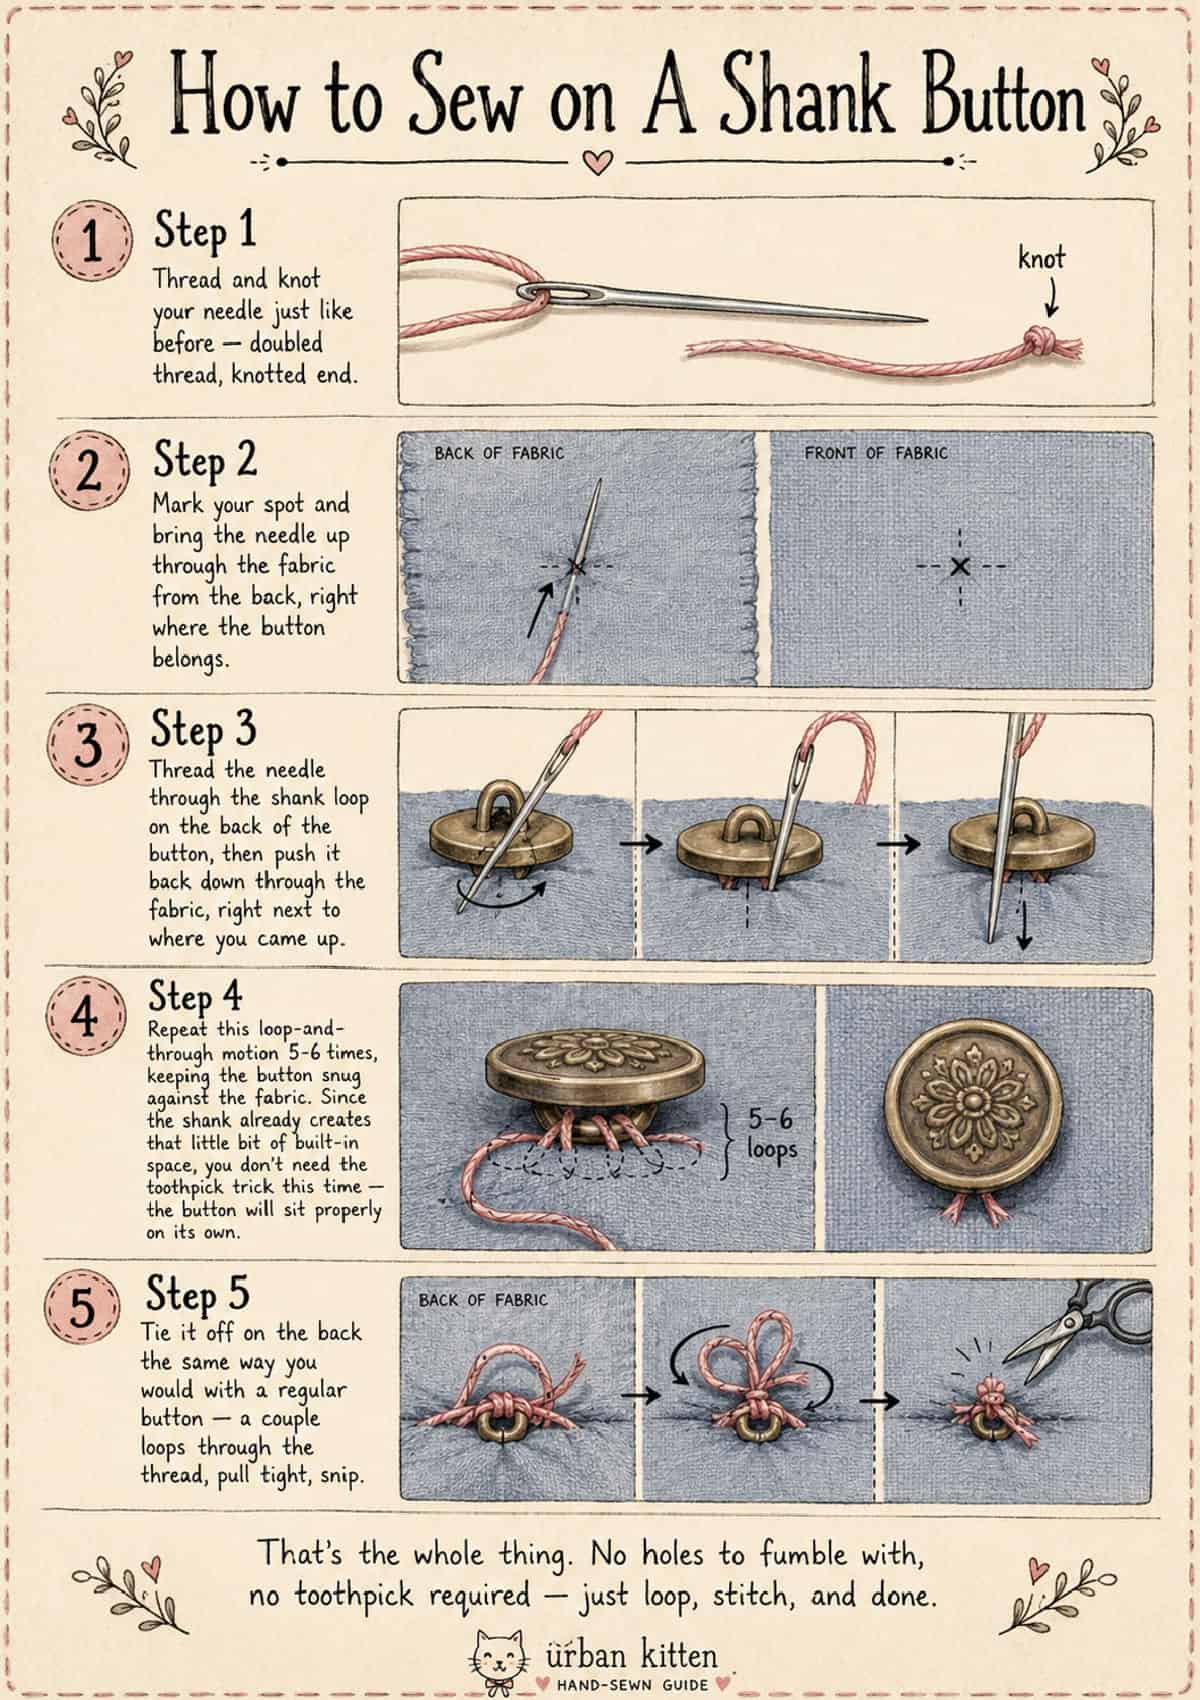
- Step 1: Thread and knot your needle just like before — doubled thread, knotted end.
- Step 2: Mark your spot and bring the needle up through the fabric from the back, right where the button belongs.
- Step 3: Thread the needle through the shank loop on the back of the button, then push it back down through the fabric, right next to where you came up.
- Step 4: Repeat this loop-and-through motion 5-6 times, keeping the button snug against the fabric. Since the shank already creates that little bit of built-in space, you don’t need the toothpick trick this time — the button will sit properly on its own.
- Step 5: Tie it off on the back the same way you would with a regular button — a couple loops through the thread, pull tight, snip.
That’s the whole thing. No holes to fumble with, no toothpick required just loop, stitch, and done.
Hey, don’t forget about hand sewing a buttonhole!
A Few Tips
- No toothpick handy? Just leave a little slack in your stitches as you sew, it does the same job, just with slightly less precision.
- Matching thread color is a nice touch, but it’s not mandatory. Nobody’s grading you on this.
- If a shirt keeps losing the same button, check the buttonhole, sometimes it’s stretched out and putting extra strain on the button itself.
- Keep those little extra buttons that come with new clothes. Toss them in a jar or a drawer, future you will be grateful. And, twenty years later you won’t regret tossing your button jar!
That’s really all there is to it. A few minutes, a needle and thread, and you’ve saved yourself a trip to the store and rescued a perfectly good shirt. Not bad for five minutes of work, right?