


These sweet little button cookies are almost too cute to eat. Almost.
Made with a simple buttery dough and shaped to look like old-fashioned sewing buttons, they’re a fun cookie to make for a sewing get-together, afternoon tea, holiday cookie tray, or simply because you happen to love anything involving buttons and thread like I do. 🙂
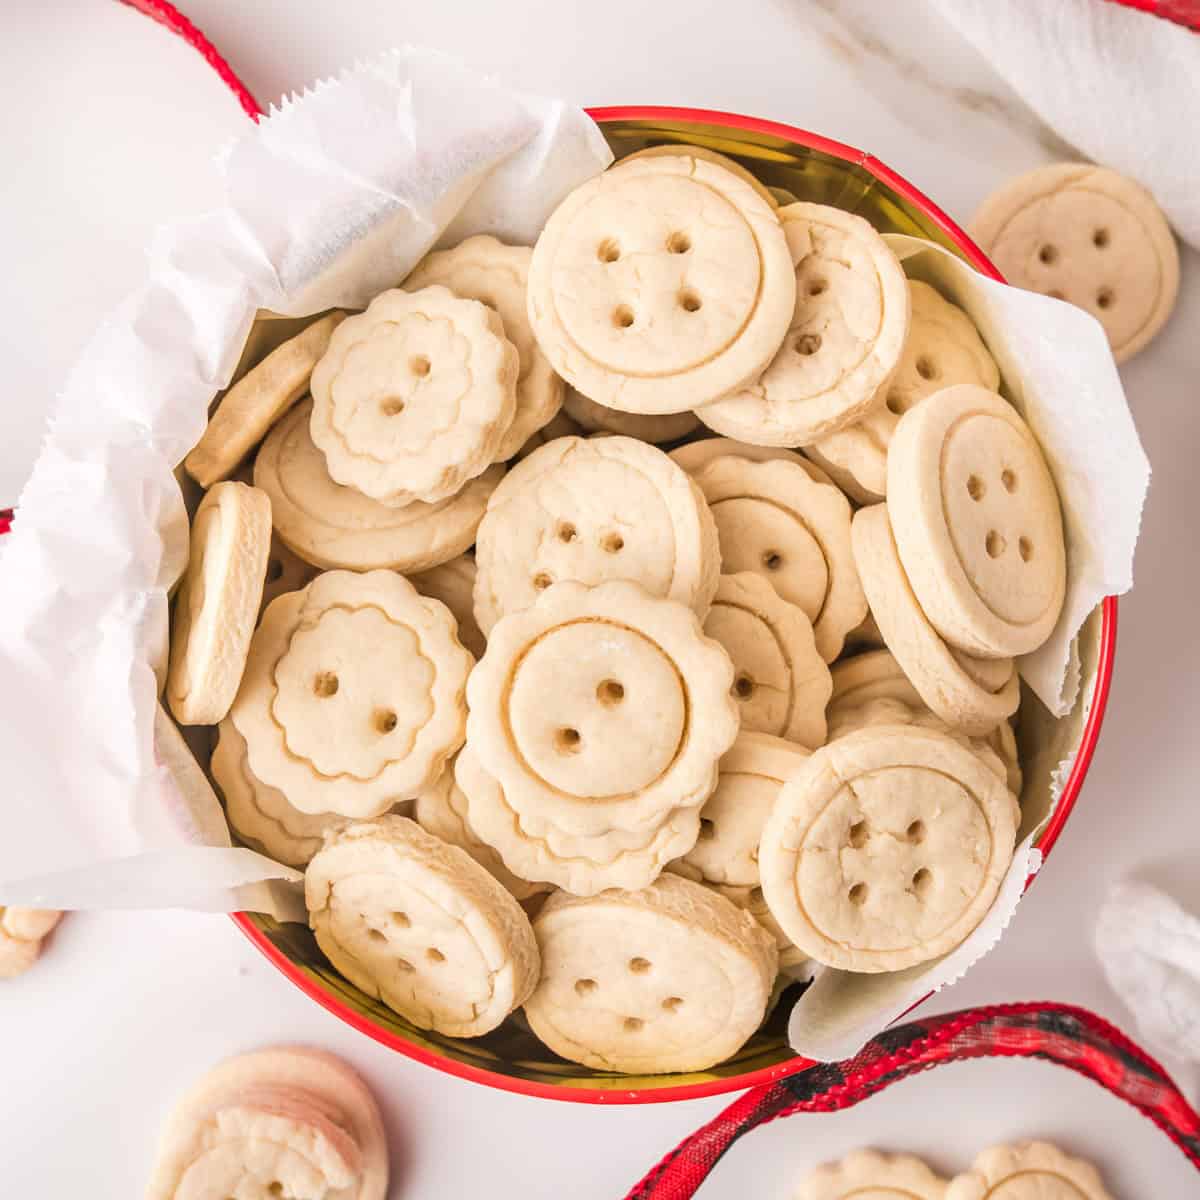
Button cookies also feel especially at home alongside a sewing basket or vintage button tin. You don’t need a special button-shaped cutter to make them, either. Two round cookie cutters and a wooden skewer or straw are all it takes to create the button shape.
The finished cookies are lightly sweet, soft but firm enough to hold their shape, and small enough that one batch makes plenty for sharing.
A Little Recipe History
Simple rolled cookies have always been perfect for a little creativity. A basic dough could be cut into whatever shapes suited the occasion, then decorated without requiring elaborate ingredients or equipment. These button cookies carry that old-fashioned idea in a particularly fitting direction, bringing the sewing basket and the cookie tin together in one very sweet little bake.
A Little Baking for the Sewing Room
There’s something wonderfully old-fashioned about buttons.
Before inexpensive clothing and fast fashion, buttons were worth saving. They were snipped from worn-out shirts and dresses and tucked into tins, jars, or little boxes to be used another day.
Even now, a collection of mismatched buttons has a certain charm to it.
These button cookies borrow that familiar shape and turn it into something edible. And because every button doesn’t have to look exactly alike, this is a particularly forgiving cookie project.
Make some round. Use a flower-shaped cutter for others. Give them two holes or four. A slightly mismatched batch somehow seems even more appropriate.
What Makes These Button Cookies Work
This button cookie recipe uses powdered sugar rather than granulated sugar, giving the cookies a tender texture and gentle sweetness.
Cornstarch helps keep the cookies soft while still allowing them to hold the button design during baking. The dough is also sturdy enough to roll and cut without requiring complicated decorating or frosting afterward.
And despite their appearance, there really isn’t much special equipment involved.
You simply need two cutters in slightly different sizes to make the outer cookie and inner button rim.
Ingredients
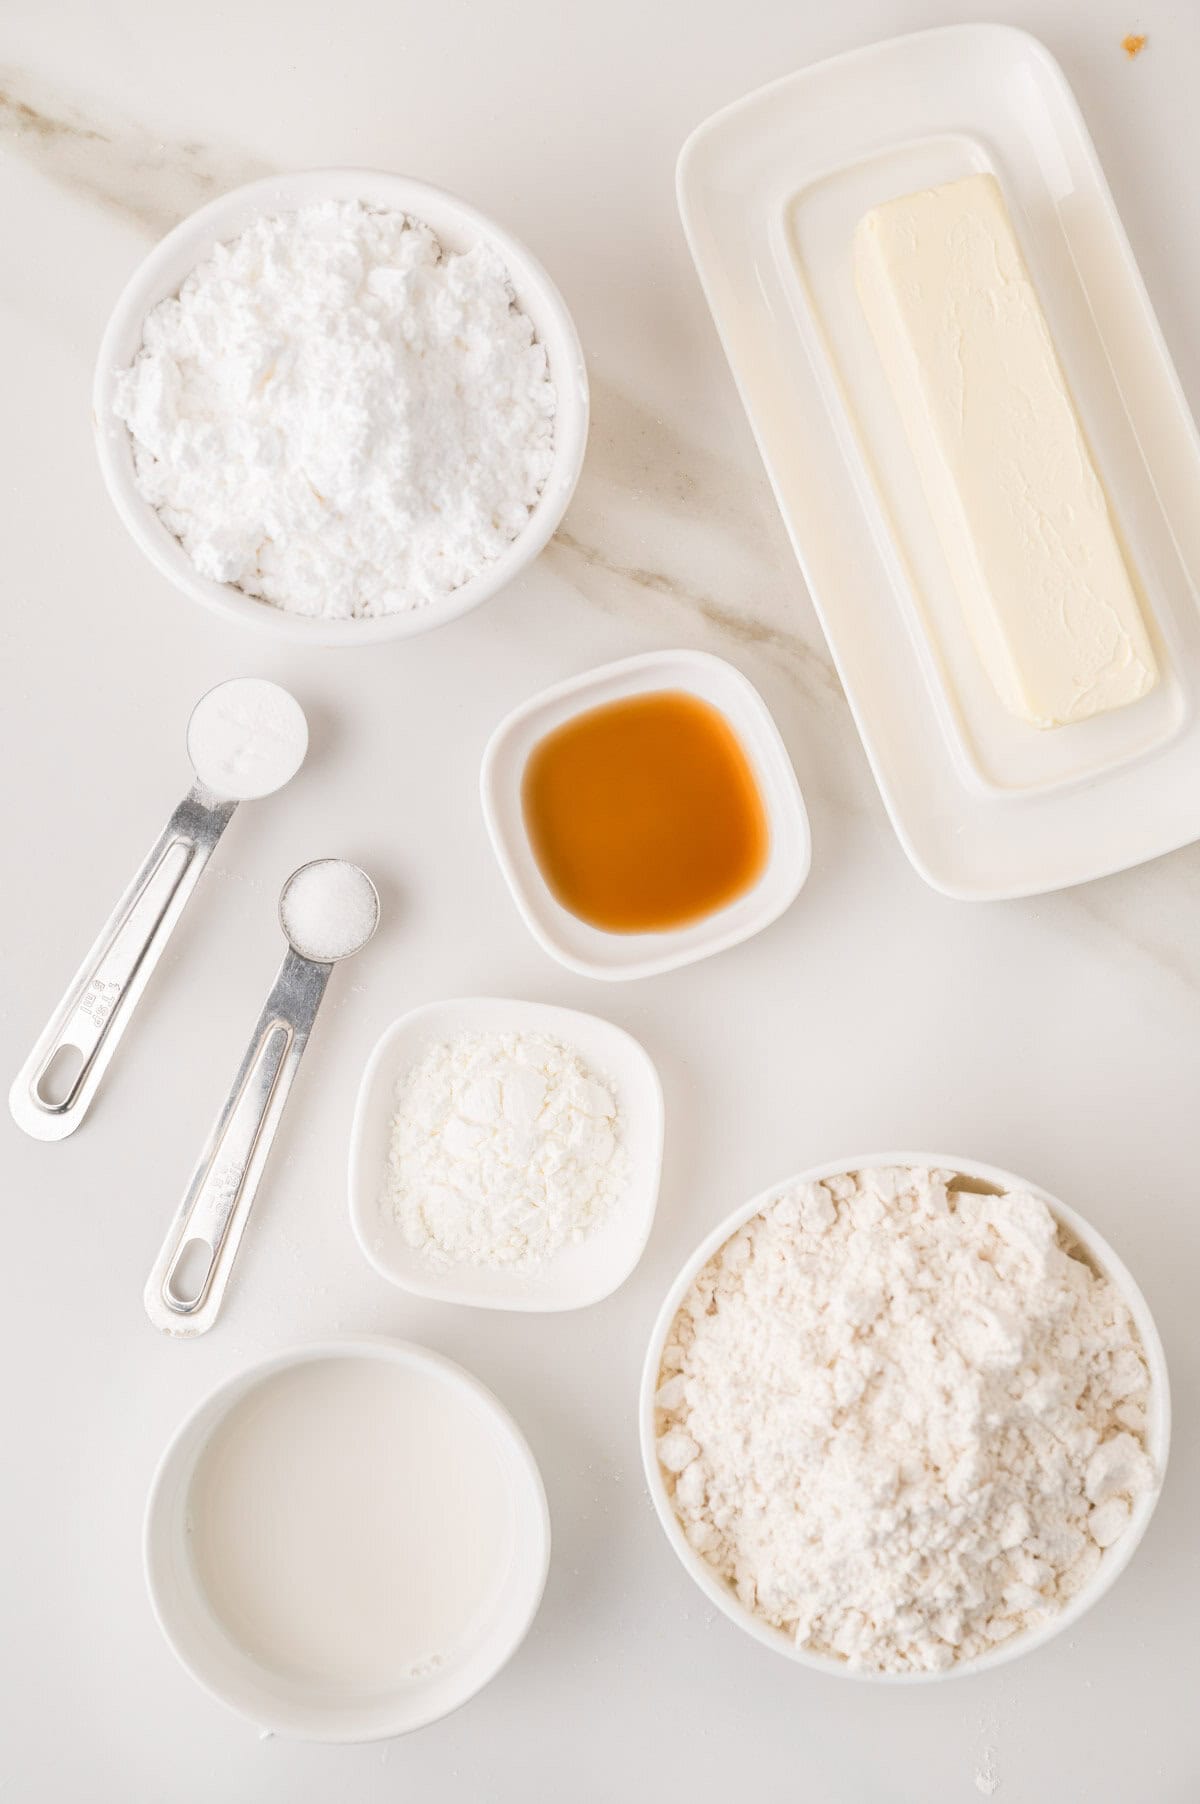
Butter – Use softened unsalted butter. Imperial margarine sticks were also tested and work well in this recipe. Whichever you use, make sure it is softened before mixing so it combines easily with the powdered sugar.
Powdered Sugar – Powdered sugar gives these cookies their smooth texture and light sweetness. This recipe was developed and tested specifically with powdered sugar.
Vanilla – A teaspoon of vanilla adds just enough flavor without overpowering the buttery cookie.
Milk – Whole milk or almond milk can be used. Both were tested successfully.
All-Purpose Flour – Regular all-purpose flour gives the dough enough structure to roll, cut, and hold the button design. Keep a little additional flour nearby for rolling out the dough.
Cornstarch – Don’t leave this one out. Cornstarch helps create the texture of the cookie while keeping the dough tender.
Baking Powder – Baking powder is important to the finished texture, so I don’t recommend reducing or omitting it.
Salt – A small amount of salt balances the sweetness and brings out the vanilla and butter flavors.
How to Make Button Cookies
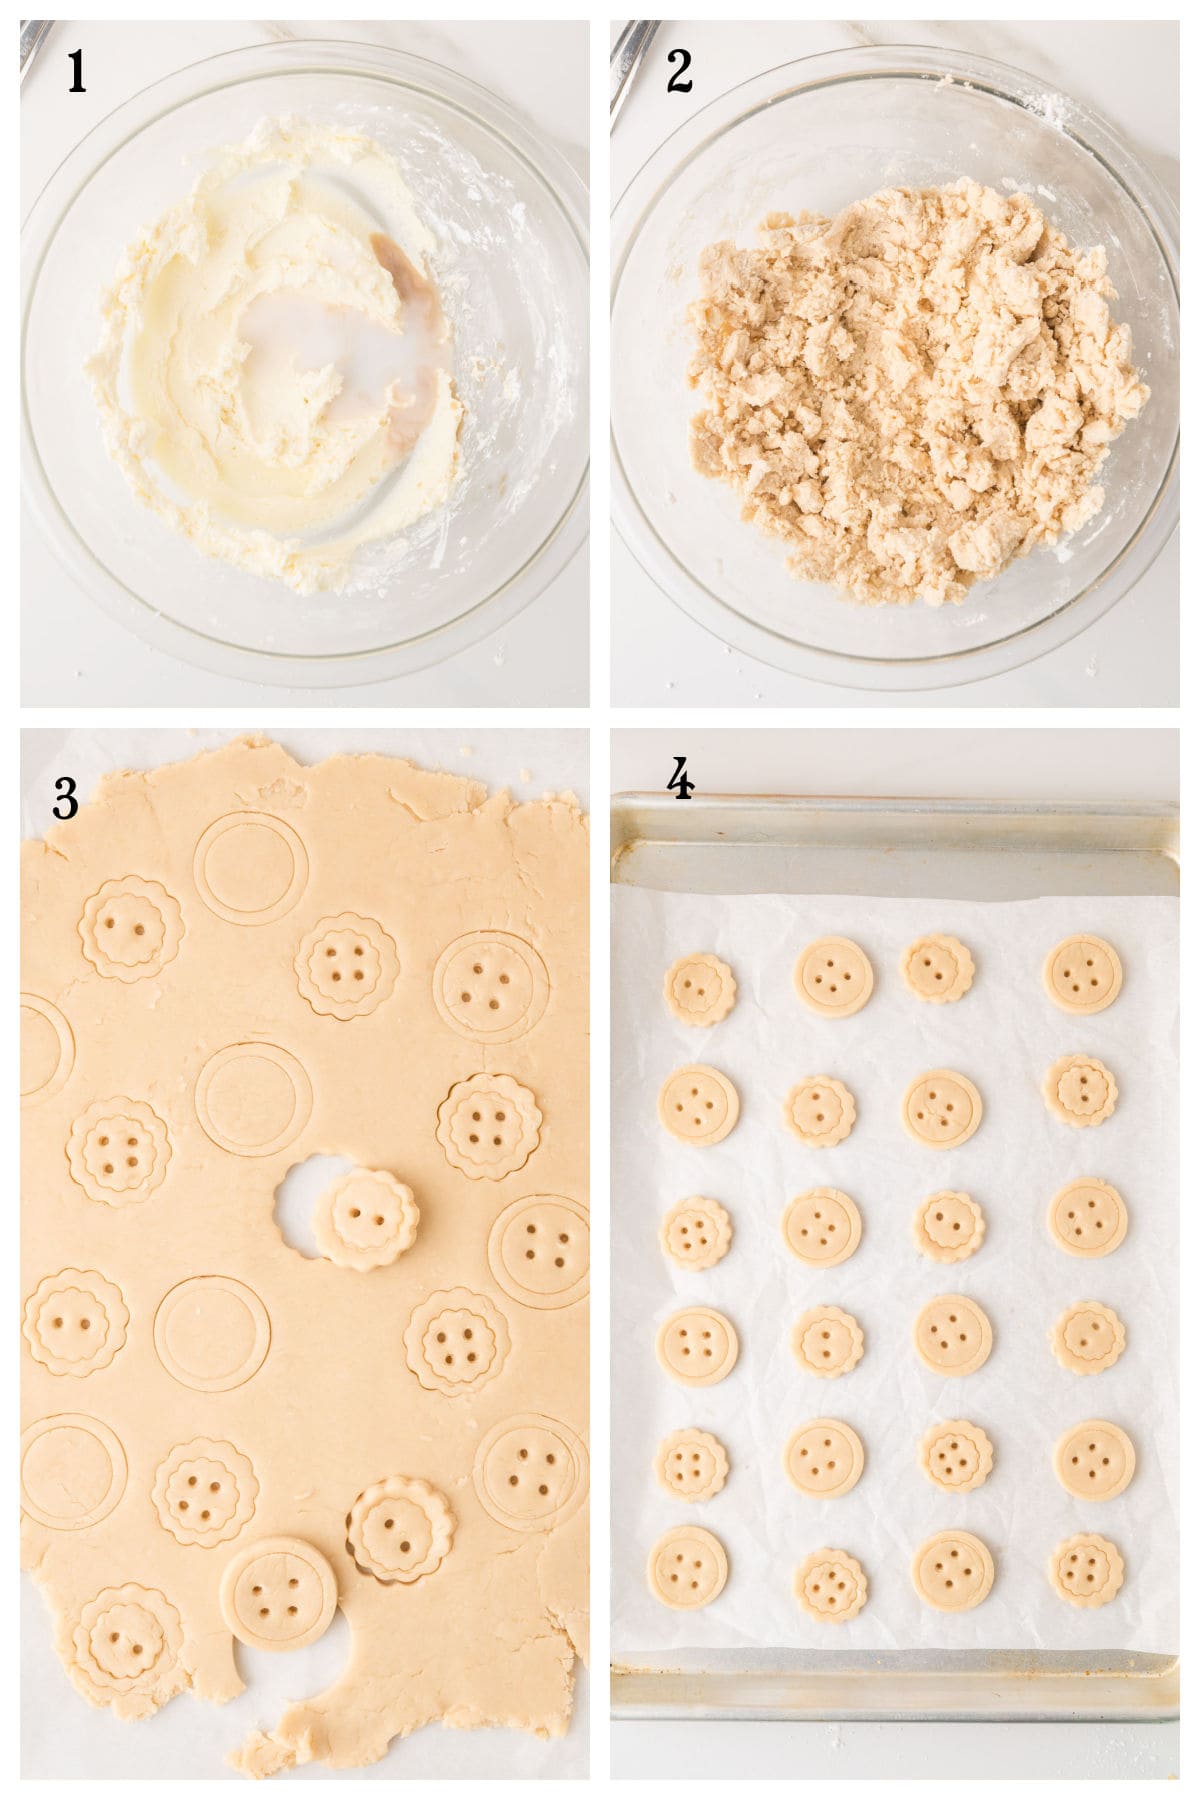
Start by preheating your oven to 350°F and line a baking sheet with parchment paper.
Cream the softened butter and powdered sugar together until well combined. Stir in the vanilla and milk.
Add the flour, cornstarch, baking powder, and salt and continue stirring until a firm cookie dough forms.
Lightly flour your work surface and rolling pin, then roll the dough to approximately ¼-inch thickness.
Use your larger cookie cutter to cut out the cookies.
Next, center the smaller cutter inside each cookie and gently press it into the dough to make the inner button design. Do not press the smaller cutter all the way through the dough. You only want to make an indentation. Use the flat end of a wooden skewer or a drinking straw to make two or four holes in the center of each cookie.
Transfer the cookies to your prepared baking sheet and bake for approximately 8 to 10 minutes, or until the cookies are firm.
Continue rolling, cutting, and baking until you have used all the dough.
The Trick to Making Them Look Like Buttons
The smaller cutter is what gives these cookies their recognizable button shape.
Press firmly enough to leave a clear circle or flower-shaped indentation, but stop before cutting through the cookie.
Then add your button holes.
Two holes give you a simple old-fashioned button, while four holes make them look even more like something you might find tucked away in a sewing box.
If you plan to thread ribbon or string through the cookies for a display or gift, make sure the holes go completely through the dough before baking.
You Don’t Need Special Button Cookie Cutters
One of my favorite things about this recipe is that you don’t have to buy another specialty cookie cutter.
I used two round cutters in different sizes, approximately 1 inch and 1½ inches.
You can also use round flower-shaped cutters or experiment with other shapes.
Just remember that changing the size of the cookies will also change how many cookies the recipe makes and may slightly affect baking time.
Helpful Tools
A few basic baking tools make the recipe especially easy:
- Half Sheet Baking Sheet – (if you have a small oven make sure a half sheet will fit, otherwise get the quarter sheet size)
- Mixing Bowls
- Round Cookie Cutters (Amazon affiliate link)
You’ll also need parchment paper, a rolling pin, and either a wooden skewer or straw for making the button holes.
Ways to Serve Button Cookies
These aren’t just cookies for sewing enthusiasts.
They would be sweet additions to:
- A sewing or quilting group get-together
- An afternoon tea
- A craft-day snack
- A vintage-themed party
- A Mother’s Day cookie plate
- A homemade gift for someone who sews
- A holiday cookie assortment
You could even tuck a few into a little bag and tie it with ribbon for an easy sewing-themed gift.
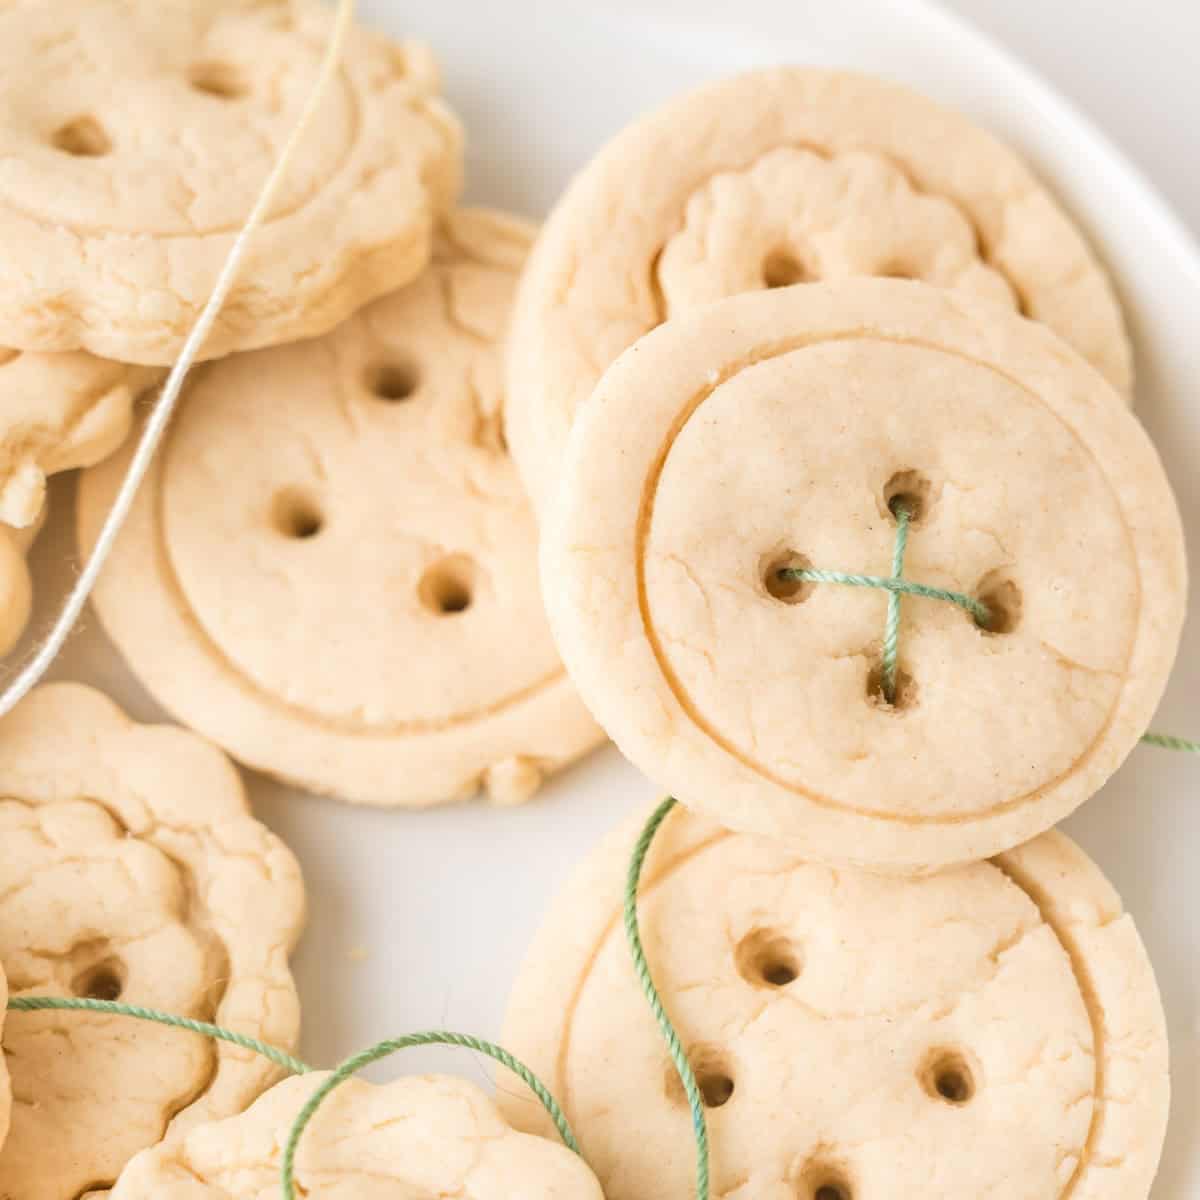
Can I Use Different Cookie Cutters?
Absolutely. Round cutters give you the most traditional button appearance, but small flower-shaped cutters are especially pretty. The important part is using two cutters that are slightly different in size so you can create the raised rim around the center.
Different-sized cutters will change the final number of cookies you get from one batch.
How to Store Button Cookies
Once completely cooled, store your button cookies in an airtight container at room temperature.
They will keep well for up to one week. Because there’s no frosting or decoration to worry about, they’re also easy to stack and store.
An Easy Cookie with a Little Vintage Charm
Sometimes the simplest baking projects are the most enjoyable.
- There’s no piping bag, frosting, or complicated decorating involved here; just an easy cookie dough, a couple of cutters, and a few little button holes.
- Put on the kettle, bring out the sewing basket, and you’ve got exactly the sort of afternoon I had in mind for these little button cookies.
- Buttons were often tucked into old tins, jars, or little boxes to be used another day. If you grew up with one of those familiar kitchen tins that somehow held everything except cookies, you might also enjoy The Cookie Tin That Never Held Cookies.
Save This One for Later
Enjoy finding old-fashioned recipes and stories like this one? Bookmark The Urban Kitten so you can find your way back.
On a computer: Press Ctrl + D on Windows or Command + D on a Mac. On your phone or tablet: Tap your browser’s Share or Menu button and choose Add Bookmark or Add to Favorites.

Button Cookies
Ingredients
- ½ cup unsalted butter softened
- ¾ cup powdered sugar
- 1 teaspoon vanilla extract
- 2 tablespoons whole milk
- 2 cups all-purpose flour plus additional flour for rolling
- 1 tablespoon cornstarch
- 1 teaspoon baking powder
- ½ teaspoon salt
Instructions
- Preheat the oven to 350°F and line a baking sheet with parchment paper.
- Cream together the softened butter and powdered sugar. Stir in the vanilla and milk.
- Add the flour, cornstarch, baking powder, and salt. Stir until a firm dough forms.
- Lightly flour your work surface and roll the dough to approximately ¼-inch thickness.
- Cut the dough with the larger cookie cutter.
- Center the smaller cutter inside each cookie and press it about halfway into the dough to create the button rim. Do not cut all the way through.
- Use the flat end of a wooden skewer or a straw to make two or four button holes in the center.
- Transfer to the prepared baking sheet and bake for 8–10 minutes, or until firm.
- Repeat with the remaining dough. Cool before serving.
Notes
- Unsalted butter or Imperial margarine sticks may be used.
- Whole milk and almond milk both work well.
- Do not omit the cornstarch or baking powder.
- Do not push the smaller cutter completely through the dough.
- If you want to thread string or ribbon through the cookies, make sure the button holes go completely through the dough before baking.
- Store cooled cookies in an airtight container at room temperature for up to one week.