
Homemade lemon curd is one of those old-fashioned recipes that sounds much more complicated than it really is. With a few fresh lemons and a handful of basic ingredients, you can make a jar of smooth, buttery lemon curd in about 25 minutes.
The flavor is bright and pleasantly tart, with just enough sugar to soften the sharpness of the lemons. It tastes fresher and more distinctly lemony than most jars from the grocery store and you get to decide exactly how sweet or tart you want it.
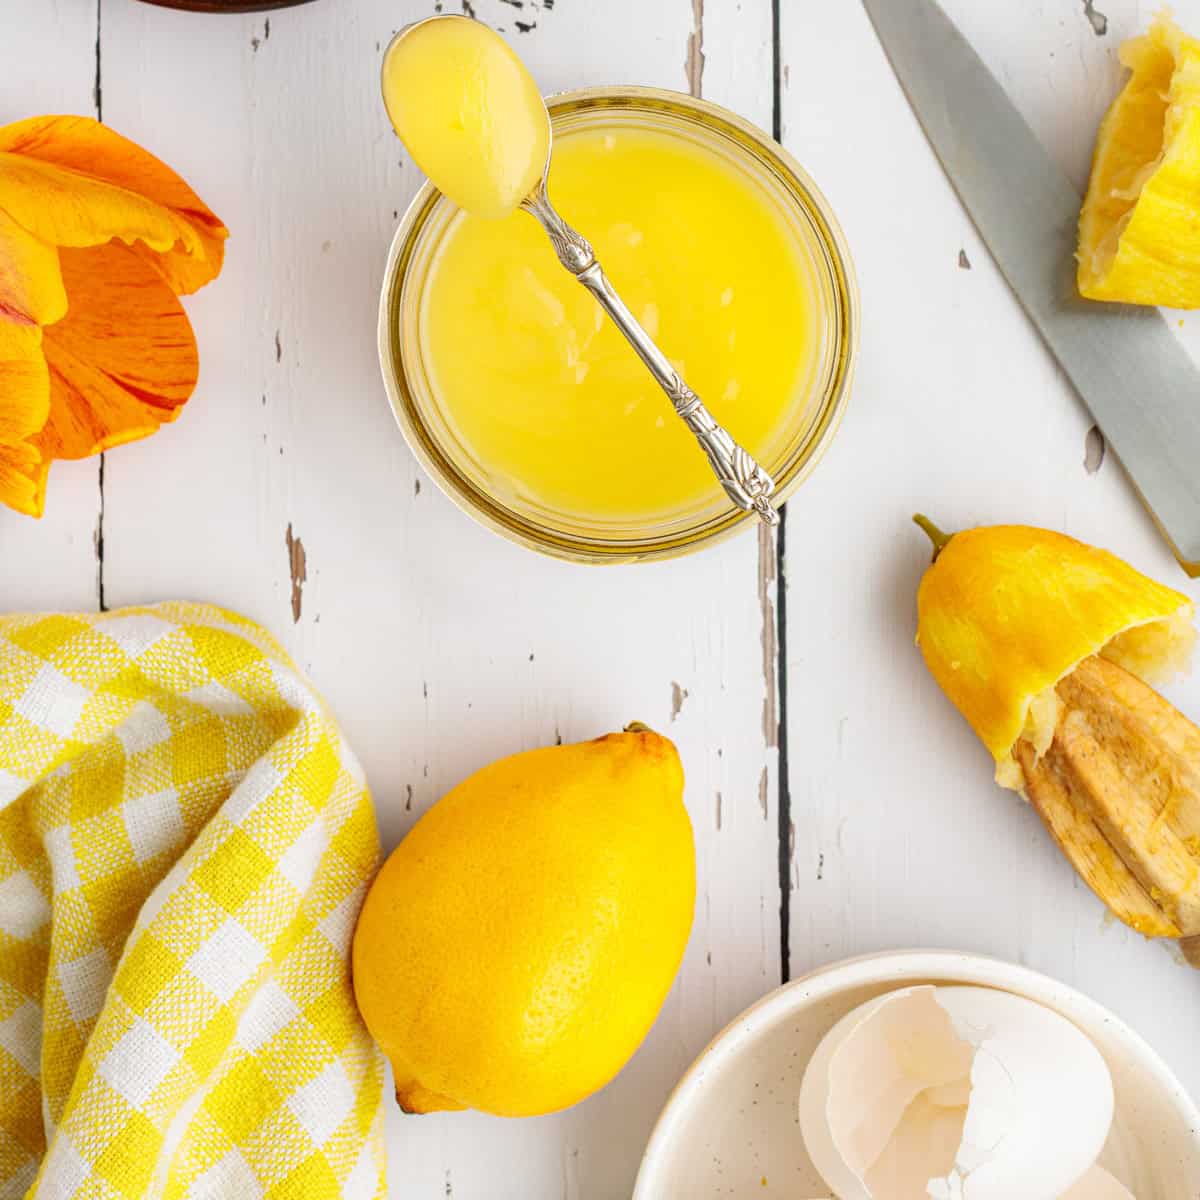
Lemon curd was traditionally served with scones, toast, and afternoon tea, but there are dozens of ways to use it. Spoon it between cake layers, swirl it into yogurt, spread it over biscuits, or use it to add an extra burst of lemon flavor to a simple dessert.
A Little Recipe History
By the early 20th century, lemon curd was common on English tea tables, it was served with bread or scones as an alternative to jam and used to fill cakes, tarts, and small pastries. Because it didn’t keep as long as traditional preserves, it was usually made in modest household batches, much like this recipe. A few lemons, eggs, sugar, and butter were transformed into something bright, rich, and just a little special.
Ingredients
You need just a few simple ingredients you probably already have in your kitchen. This is a fun recipe to make, it always takes me back to my Moms Lemon Meringue Pie.
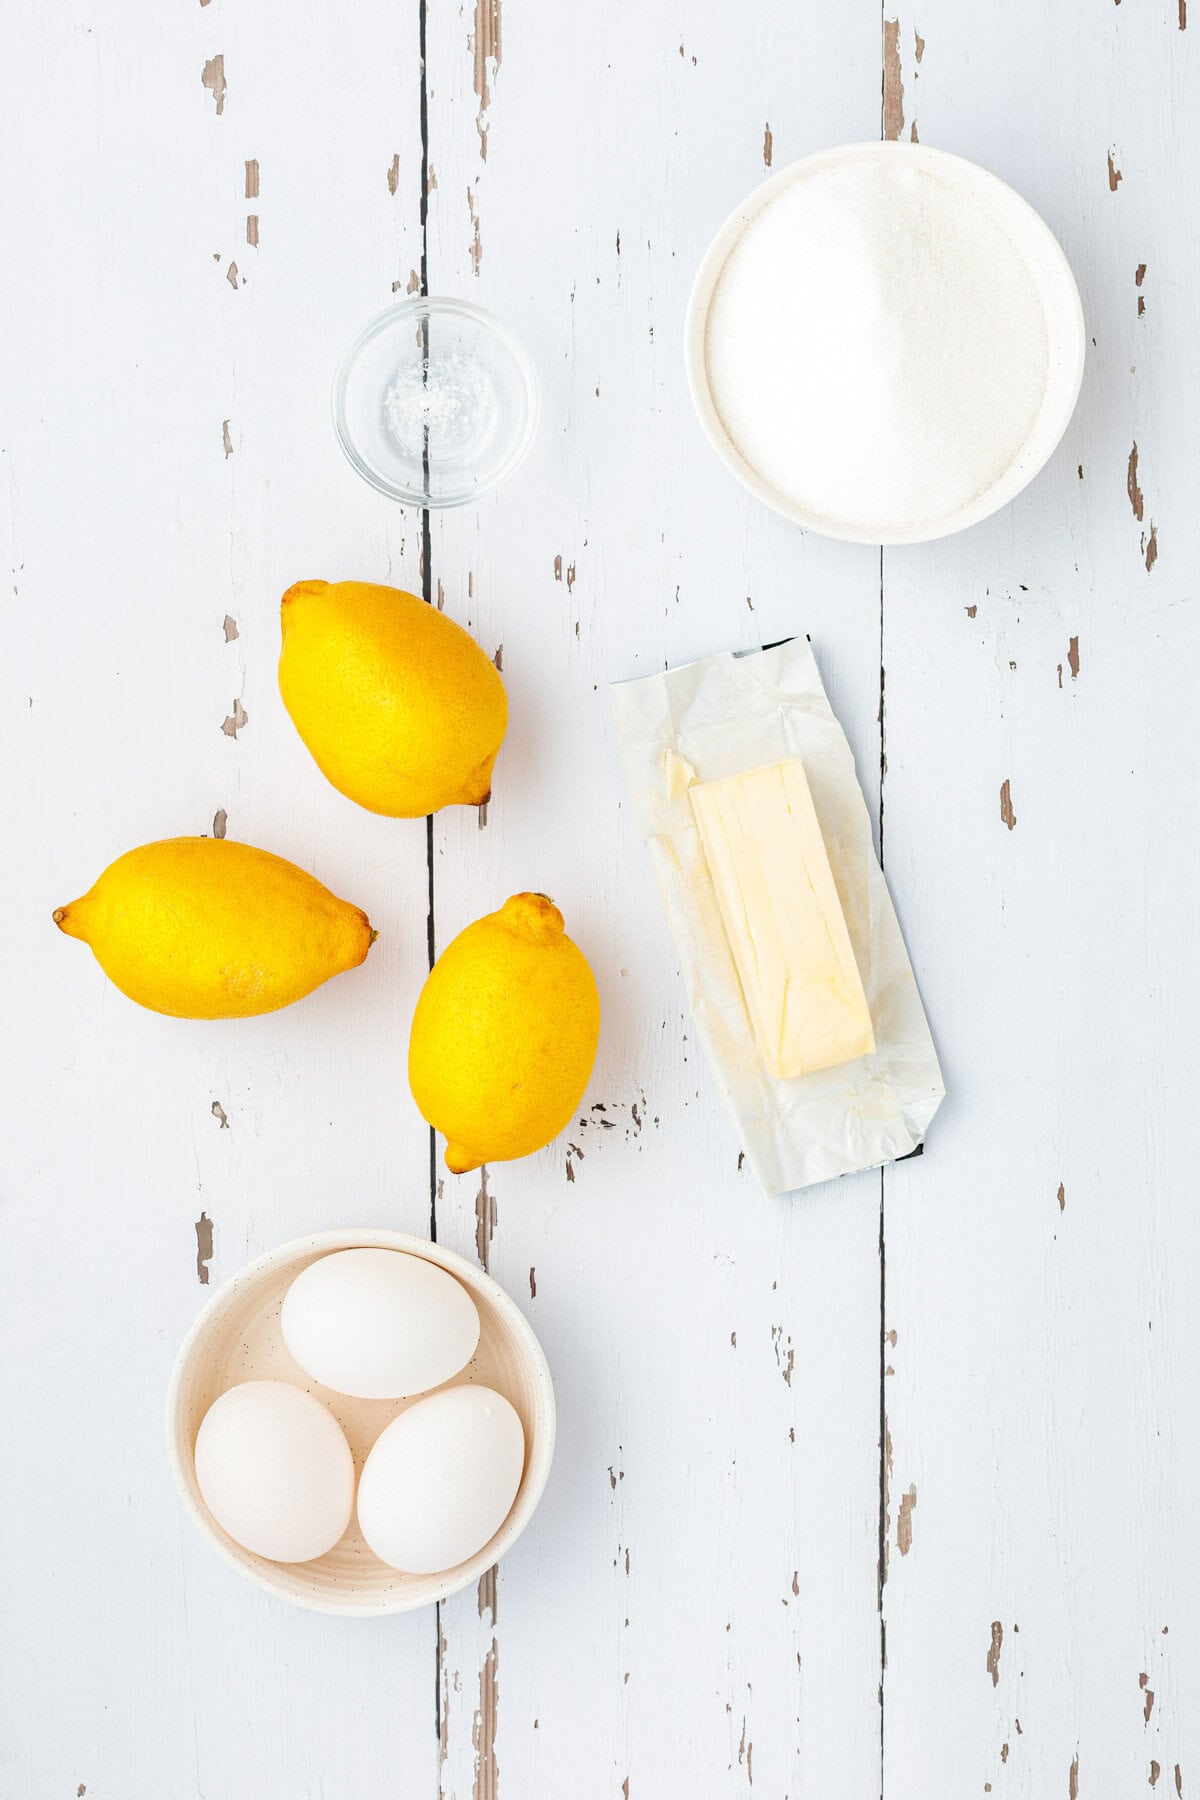
- Eggs: Whole eggs give the curd its rich flavor and help it thicken.
- Granulated sugar: Sweetens the curd and balances the tart lemon juice.
- Lemon zest: Provides a deeper, more fragrant lemon flavor.
- Fresh lemon juice: Freshly squeezed juice produces the best flavor.
- Unsalted butter: Creates a rich, smooth finish. I keep a couple of sticks in my freezer specifically for using in recipes that call for unsalted butter. don;t go out and buy it special, you can use salted and reduce the salt.
- Salt: Optional, but a small pinch helps balance the sweetness and bring out the lemon flavor. Leave out if using salted butter.
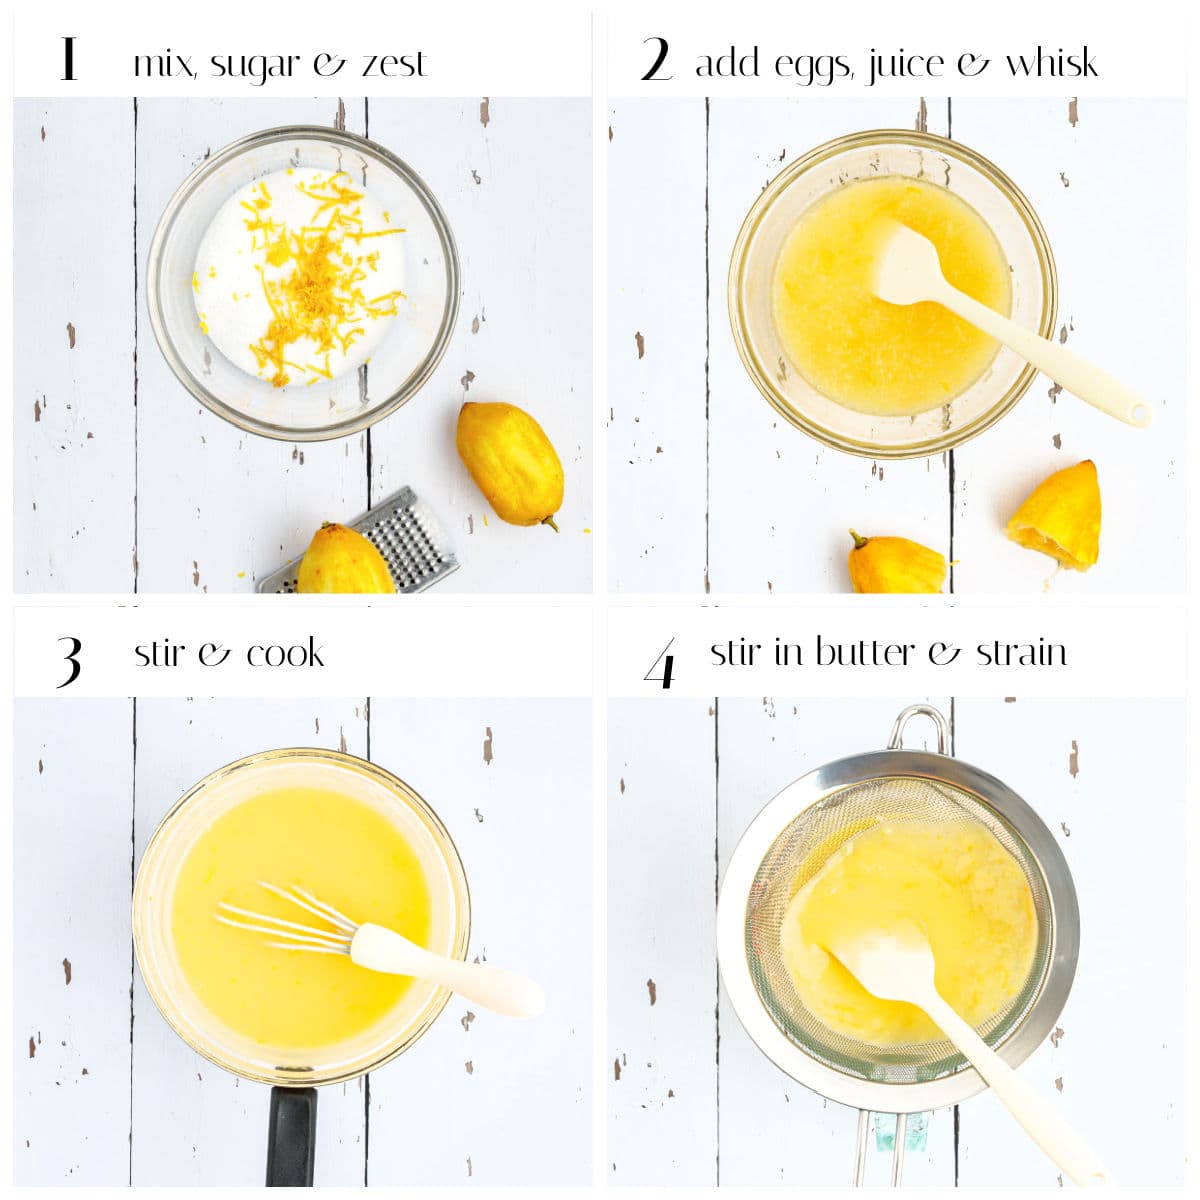
Summary – How To Make Lemon Curd
Recipe Tips ( Read before you make)
- Zest the lemons before squeezing them. It is much easier to zest a whole lemon than one that has already been cut and juiced.
- Use only the yellow portion of the peel. The white pith beneath it can taste bitter.
- Keep the water at a gentle simmer rather than a full boil.
- Stir continuously and scrape the bottom and sides of the bowl so the eggs cook evenly.
- Don’t worry if the warm curd looks a little thinner than expected. It will become considerably thicker after it has chilled.
- Straining is optional, but it gives the lemon curd an especially smooth texture.
Ways to Use Lemon Curd
Once you have a jar in the refrigerator, you may find yourself reaching for it more often than expected. Try it on:
- Spread on toast, English muffins, biscuits, or scones
- Spooned over pancakes, waffles, or French toast
- Swirled into plain or vanilla yogurt
- Layered with yogurt and berries for a simple parfait
- Stirred into warm oatmeal
- Spoon over pound cake, angel food cake, or cheesecake
- Used as a filling for layer cakes or cupcakes
- Tucked inside thumbprint cookies
- Spoon into miniature tart shells
- Layered with whipped cream in dessert glasses
- Served alongside fresh berries
- Folded into whipped cream for a quick lemon filling
- Used to add an extra spoonful of lemon flavor to lemon squares
If you enjoy old-fashioned lemon desserts, try my Lemon Squares next. Their buttery crust and tart lemon filling have the same bright flavor that makes homemade lemon curd so good.
How to Store Homemade Lemon Curd
Store homemade lemon curd in a clean, airtight container in the refrigerator for up to two weeks. Always use a clean spoon when removing curd from the container.
This recipe is intended for refrigerator or freezer storage. It is not a shelf-stable canning recipe.
Common Questions Answered
Can I use bottled lemon juice?
Freshly squeezed lemon juice is strongly recommended. Bottled juice may taste flat, bitter, or overly acidic, while fresh juice gives the curd a brighter and more natural lemon flavor.
Why should I strain lemon curd?
Straining removes the zest and any tiny pieces of cooked egg, producing a smoother finished curd. It is optional, but it takes only a minute and makes a noticeable difference in the texture.
How do I know when lemon curd is done?
The curd should coat the back of a spoon and register between 170°F and 175°F on an instant-read thermometer. When you drag your finger through the curd on the spoon, it should leave a clean line.
Remember that lemon curd continues to thicken as it cools, so it does not need to be as thick as a refrigerated spread when you remove it from the heat.
Why didn’t my lemon curd thicken?
It may not have cooked long enough or reached the proper temperature. Continue cooking and stirring it gently until it reaches at least 170°F and coats the back of a spoon.
Can I freeze lemon curd?
Yes. Let the curd cool completely, transfer it to an airtight freezer-safe container, and freeze it for up to three months. Leave a little room at the top of the container for expansion. Thaw it overnight in the refrigerator and stir before serving.
Can I double the recipe?
Yes, you can!.Use a larger heatproof bowl and allow for a slightly longer cooking time. Stir constantly so the mixture heats and thickens evenly.
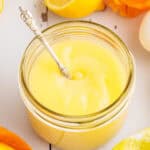
Lemon Curd
Ingredients
- 3 each large eggs
- ¾ cup granulated sugar
- 3 each lemon zest
- ½ cup freshly squeezed lemon juice use the lemons from the zest
- 6 tablespoons unsalted butter cut into cubes
- 1 pinch salt
Instructions
- In a medium bowl, combine the sugar and lemon zest. Using your fingers, rub the zest into the sugar until it becomes fragrant and looks slightly damp. This releases the flavorful oils from the zest.
- Add the eggs and lemon juice to the zest-infused sugar. Whisk until the mixture is smooth and well combined.
- Pour the mixture into a heatproof bowl and set it over a saucepan of gently simmering water to create a double boiler. Stir constantly with a silicone spatula or wooden spoon, scraping the bottom and sides. Cook until the mixture thickens and reaches 170–175°F, about 10–12 minutes.
- Remove from heat and strain through a fine-mesh sieve into a clean bowl for an ultra-smooth curd. Stir in the butter cubes until fully melted. Add a pinch of salt, if desired, to enhance the flavor.
- Let cool to room temperature. Transfer to clean jars or an airtight container. Refrigerate for up to 2 weeks.
Notes
Never let the curd boil! In about 10 minutes or less, the curd will thicken and reach the right consistency.